


How to: Introduction to Fair Isle
video by
Let's Knit Together
- Overview
- Practical Guides
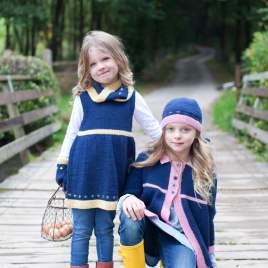
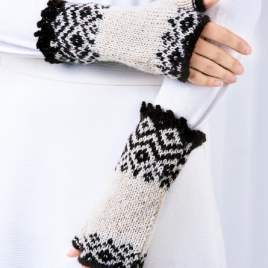
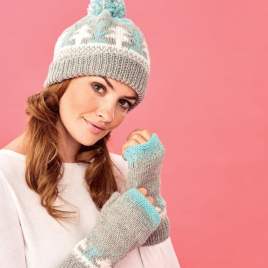
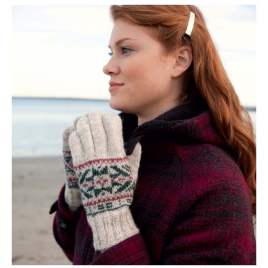
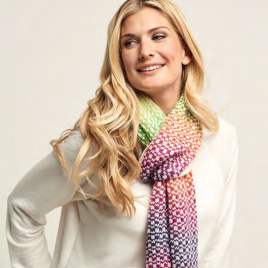
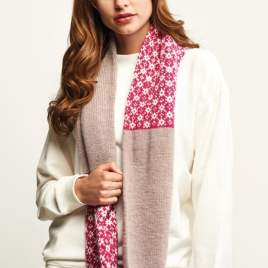
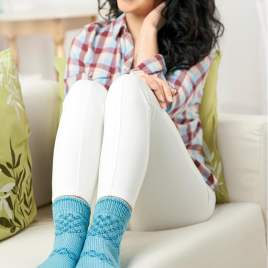
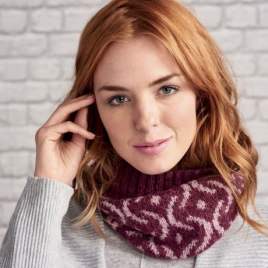
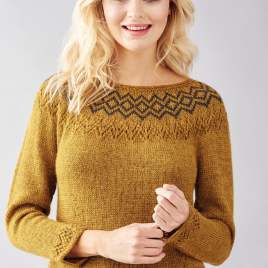
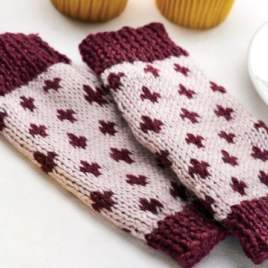
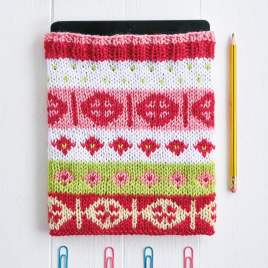
Anyone can learn this fantastic knitting skill, and if you’ve not tried it before, a small project such as a toy or decoration is the ideal starter make. This is a colourwork method worked from a chart, usually for repetitive patterns, with two yarns on the same row and produces intricate-looking designs. As both strands are carried along each row, this results in an extra warm fabric with a double thickness. Commonly called Fair Isle technique in the UK, other countries do have similar versions, but let’s understand how it works before we give it a try.
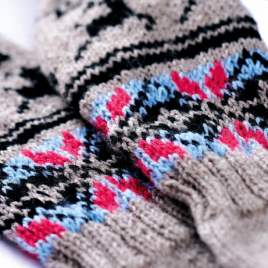
This traditional technique appears as stocking stitch on the front, while on the wrong side there are long strands, called floats. The two yarns are carried along the same row to allow for easy colour changes. The strands are consistently held in upper and lower positions on both knit and purl rows for an even-looking surface. On the wrong side, there will be an upper and lower strand float on each row. It’s key to stretch your stitches on the needle as the floats on the back can affect the overall tension and pull in your fabric. Blocking can help, and you can also change your needle size if you may find your tension is a little tighter than normal. Often these two-colour patterns are worked from a chart, which is read from the bottom up. Right side (knit) rows are read from right to left, while purl rows are read from left to right. As a small pattern repeat over just a few stitches is a feature of this design style, the chart may only show a small section of the pattern, as it is simply repeated across the row or round. Alternatively, the colour changes may be spelled out in the pattern. Expect to see yarns labelled as A, B, C or main/contrast. You may only need to carry two yarns for a section of the fabric, so be guided by the pattern as to when to introduce the second colour; this will need to be carried from the start of the row. The background colour is often the main colour or yarn A and is held as the upper strand, while the second or contrast colour is the lower strand; these positions are maintained on both right and wrong sides.
There are three basic ways to hold the two strands in your hands while knitting, and it is a case of settling into what position you find most comfortable, as they all produce the same effect. Always stretch out your stitches to maintain an even tension. One hand, one strand This is useful as a way to understand the principles of working with two strands, or if you are not comfortable with holding two strands at the same time. Hold one strand as usual in your right hand and be sure to pick up the lower strand underneath the upper strand, and run the floats for the upper strand across the top to maintain the upper strand’s position. This is the slowest method, and is harder to keep the yarn balls from tangling too, so we would definitely recommend graduating to holding both strands as a faster way to knit. One hand, two strands Both strands are held at once in your right hand, with the upper strand over the index finger, and the lower strand over the middle finger. Use your index finger, and/or middle finger, to pick up the required yarn for each stitch, keeping the upper and lower strands in their relative positions. Two hands, two strands This is the fastest way to work as each hand takes a strand and naturally keeps them in their correct upper or lower position. The right hand throws the upper strand while the left hand holds the lower strand in the Continental style, that is then picked up by the needle. As with other colourwork, twist yarns together at the ends. When a yarn is not used for around five stitches, the float is ‘carried’ at the back and bound to the surface to reduce the possibility of snagging, without being visible on the right side. If working rows for a flat piece, avoid tangling your yarn balls by always turning the needle end away from you at the end of each row. Fair isle may be worked in the round for a sock or jumper, in which case you read every chart from from right to left with the knit side facing outwards. However, it may be preferable to work ‘inside out’ with the wrong side and floats facing outwards, as this reduces issues with tension – in this case, read all chart rows from left to right instead. TIP Joining in colour at start of row, even if not needed for a few stitches, maintains the fabric thickness across the row. In Fair Isle, the lower strand yarn sits slightly differently on the right side and appears a little more proud, so is considered dominant. This is the reason it is important to keep the upper and lower strands in consistent positions, otherwise the fabric can appear lumpy, and is exacerbated by floats crossing each other on the back, rather than always running neatly alongside each other.


_268_268_64_c1.jpg)


 Kntting Video")


 Kntting Video")
