

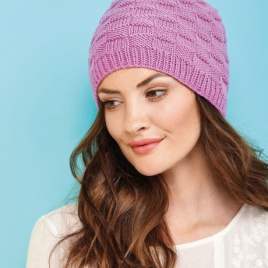
How to: knit in the round (on circular needles)
video by
Let's Knit Together
- Overview
- Practical Guides
Circular needles are a handy piece of kit for projects with a large circumference or lots of stitches. Short needles are linked by a flexible cord to join your cast-on stitches into a circle and take the weight.
If your cord gets too long for your knitting and you can’t switch to a shorter one, pull a loop of cord out at the mid point and between two of the stitches to reduce the length. You’ll need to pull out a loop at a different place as your stitches move round.
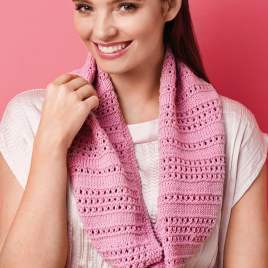
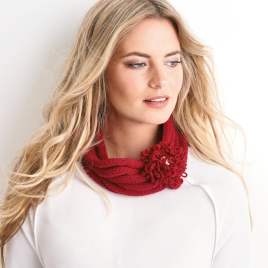
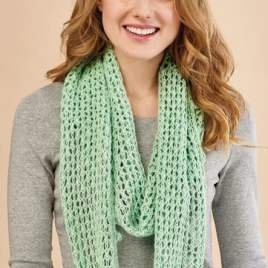
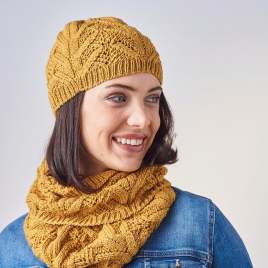
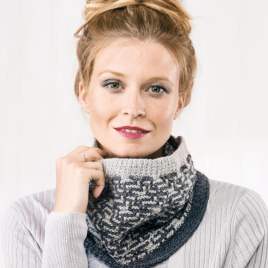
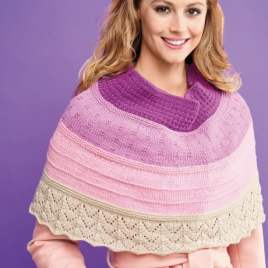
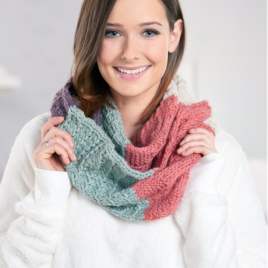
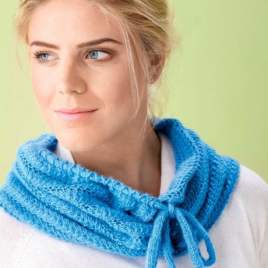
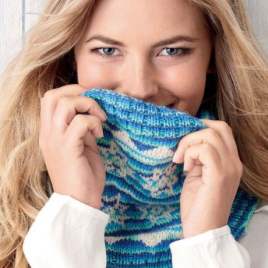
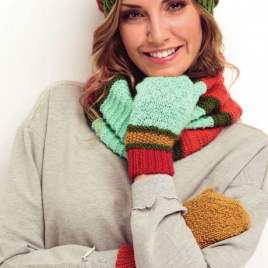
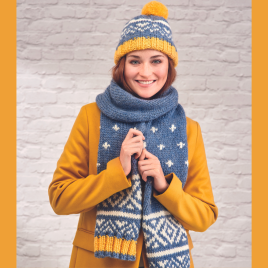
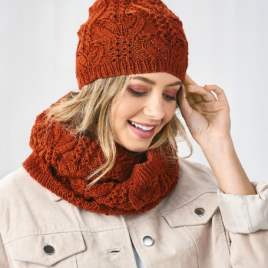
Knitting in the round is not that different to working with straight needles, so hats, cowls and jumpers can all go on your ‘to knit’ list. Circular needles are also a great aid for wide flat items, such as shawls, where the stitches would be very cramped and heavy on regular needles. For smaller items, double-pointed needles (DPNs) are the preferred choice, so see a separate tutorial for how that works. Various brands manufacture circular needles, which come in the usual needle sizes, so you may find that one type fits your hand better or has a finish you prefer. There are also sets of interchangeable needles and cords that offer great flexibility with your projects, for instance, a 20cm or 80cm cord can be used with 8mm or 3mm needles. Just hold the needles as normal and once you are used to the shorter needle, you’ll be knitting away with your work resting securely on the cord. Be guided by your pattern as to what size needles and cord length suit the project – the number of stitches should fit comfortably up the needles, so your knitting will not be overstretched. After casting on, which can be done as normal, the most important thing is to make sure the stitches are not twisted before joining them in the round. Lay out the needle and unwrap any twists from casting on, so all the stitches are neatly in line. There are several ways you can join in the round, and in this tutorial we show how to do this by swapping the first two stitches. With the last cast-on stitch and working yarn coming from your left-hand needle, and the first cast-on stitch on the needle in your right hand, insert the left-hand needle into the first stitch on the right and lift it onto the left needle. Next, use your right needle to lift the last cast-on stitch (with the working yarn) from the left needle, over the transferred stitch and onto the right needle. This has now swapped the first two stitches. To mark the start of your round, place a stitch marker between the first two stitches on your right-hand needle and transfer it with your knitting on every round. To avoid a slack join, knit the first couple of stitches fairly tightly. Also pay special attention to this point on the first couple of rounds. Work your pattern as directed, knitting every round for stocking stitch, or alternating knit and purl rounds for garter stitch. The right side will always be facing you when working in rounds, unless it is recommended that you have the piece with the wrong side on the ‘outside’. This is common in Fair Isle patterns to help ease tension and give the stitches more elasticity. Do keep things easy for yourself by keeping to the optimum cord length for the number of stitches. There is no special way to cast off from circular needles, so work as you would on straight needles. Some patterns or techniques involve turning the work, and if you need to keep track of which needle is which, just mark one of them with a dot of nail polish.
_268_268_64_c1.jpg)