Join from £2.99
FREE £40+ mystery gift when you go annual
Unlock 100s of patterns instantly
Find out more
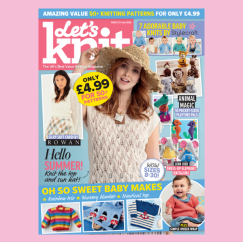
Want access to over 4000+
knitting patterns?

Welcome to our blog where you'll find even more knitting goodness, with the latest news, ideas and inspiration, plus project round-ups that will have you running to get your hooks and yarns ready!

NEW
Across the UK, knitted and crocheted postbox toppers have become a much-loved form of community art. From royal celebrations and Remembrance…
Read Latest Blog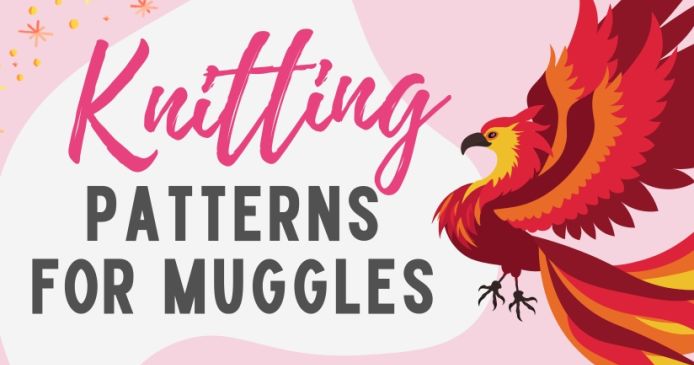
What better way to mark Harry Potter Day than by crafting something truly spellbinding? Here at Let’s Knit Together, we believe knitting…
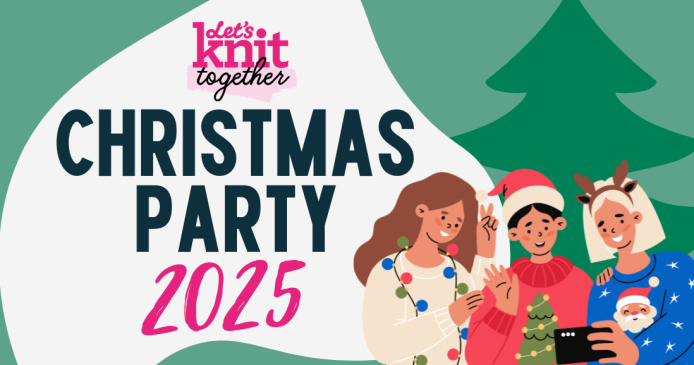
Who says you can’t have a proper party in your PJs? Our Let’s Knit Together Christmas Party on 11th December 2025 proved just that.…
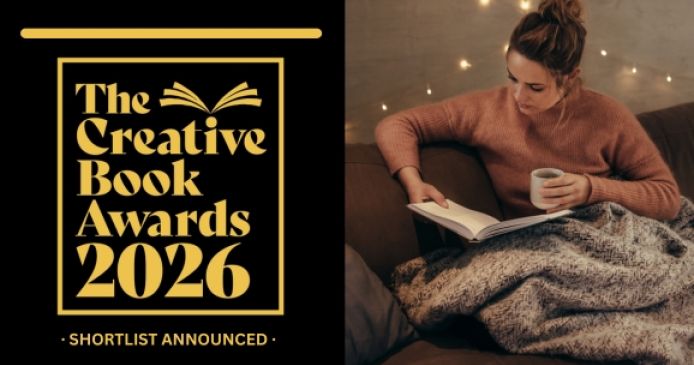
Welcome to the Creative Book Awards 2026! Since launching in 2021, these awards have celebrated exceptional craft books that inspire and…

Attending a knitting group is a fantastic way for you to connect with other crafty individuals. If you are intimidated by unfamiliar social…

Game of Wool: Britain’s Best Knitter is Channel 4’s brand-new competitive knitting series, where 10 talented amateur knitters go…

When we're first taught to knit, we are often told a few hard and fast rules that actually turn out to be more like guidelines. We’re not…

_694_365_s_c1.png)

Say goodbye to too-tight cardis and saggy sweaters with our handy guide

Patterns for Halloween? We've got everything you need to knit for scary season!
_694_365_80_s_c1.jpg)
Cygnet Yarns showcases its favourite yarns and patterns for the new season

_694_365_s_c1.png)
25 great knitting patterns to add to your new year knit list
_694_365_s_c1.png)


 Baby
Baby
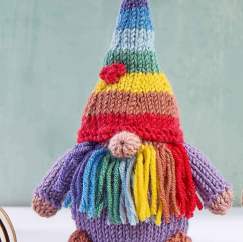
 Toys
Toys
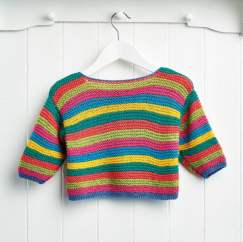
 Garments
 Crochet
 Homewares
 Dolls
Dolls