

Say goodbye to too-tight cardis and saggy sweaters with our handy guide
We all want to look and feel good in our clothes, especially if we’ve spent hours making them. One of the great things about being a knitter is that we’re not restricted by high street size brackets and predetermined guides to body shapes. Knitting patterns are easily adaptable and can be tweaked and adjusted to accentuate our assets. We show you a few tips and tricks to create flattering projects that fit and look fabulous!
Women have long been compared to apples and pears, and while it’s good that different shapes are being considered in the fashion industry, let’s face it, how many of us actually neatly fit into those categories? Here at LK, we prefer to think of women as more like smoothies – a delicious blend of different fruits – and that’s how we like it!
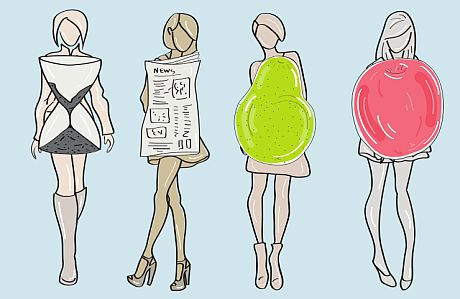
Shutterstock.com
A quick glance in the mirror will show whether you’re small waisted, broad-shouldered, full busted, narrow-hipped or a gorgeous mixture of them all. Now, look in the mirror again and start to pick out a few of your assets and use these to help direct your style choices. Necklines are an easy place to start – larger busted ladies look fabulous in ‘v’ neck designs and they’ll elongate your body. More petite figures might prefer a higher neckline, like a round or boatneck. Curvy figures often suit shorter length cardigans and jumpers; you could even go for a cropped length if you’re feeling adventurous.
Shape is important, but confidence is too, and we want you to be happy and comfortable in your handmade knits. So if you’d prefer a design that skims over your mid-section, then go for it. Our knitting hobby puts us at a distinct advantage over high street shoppers. We can make our own clothes and make them fit exactly how and where we want them to. When it comes to getting the perfect fit, your best friend is your tape measure (we mean the soft fabric kind, not the one from the tool box).

How to measure your body
Taking accurate measurements is really important. If it’s not right here, it won’t be right when you’ve finished knitting. It’s much easier if you can get someone else to help measure you but as it usually means standing around in your underwear, we know that’s not always convenient or desirable. Our handy diagram shows you where to take some key measurements, including your hip, waist and bust circumference. We’ve added in the high bust in case you are
making a particularly fitted design, and you should measure your upper arm circumference too. This will be useful if you know you often struggle with tight or baggy sleeves.
Wrap the tape measure around your body and lightly hold it in place. Try to make sure that it’s level and not too tight nor too loose. When measuring length, be sure to measure straight up and down, rather than following any curves. Measuring arm length can be tricky, but if you’re really struggling you can also take this from a well-fitting top you’ve got in your wardrobe. Old fabric tape measures can stretch, so use one that’s relatively new to get an accurate measurement.
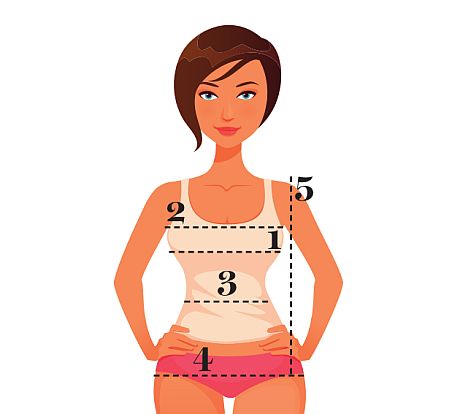
1 Bust: Around the fullest part of the bust.
2 High bust: Around the chest, above the bust and under the arms.
3 Waist: Around the smallest part of your waist.
4 Hip: Around the fullest part of your hips.
5 Back-neck to hip: From the base of the neck to the top of the hips.
Knitting patterns often come in a selection of sizes, but you don’t have to stick to the sizes and stitch counts provided. Now you’ve got your vital stats, you can adjust any pattern or even write your own. All you need now is a tension square, a calculator and a notebook. All patterns come with a tension square and if you’ve never paid attention to it before, then do so now. This will enable you to make all the necessary calculations to customise the design to fit you.
How a tension square affects measurements
A tension square will give you the number of stitches and number of rows over a 10cm square. It’ll also tell you the stitch pattern used and the needle size.
For example:
22 stitches x 30 rows
10cm x 10cm
stocking stitch
4mm needles
Matching your tension when you knit not only ensures the fabric will be nice and even, but most importantly, it means it will come out the correct size. You can scale up the tension to work out the measurements of the finished garment, and can use that information to adjust the instructions to fit your own
size and shape. Divide the number of stitches given in your tension square by ten to work out how many stitches you have over 1cm. You can do the same with the rows, then multiply these by your body measurements. This will tell you how many stitches you’ll need to increase between your waist and your chest, or how many rows you’ll need to make the sleeves the correct length.

Shutterstock.com
What does ‘ease’ mean in knitting?
The difference between your measurements and the actual size of the garment is called ease. A garment that’s bigger than your measurements has positive ease, one that’s smaller has negative ease. Garments with negative ease tend to have a lot of stretch and will be closely fitted when worn – think of a
tight ribbed sweater or bodycon dress. You’ll have to factor this in when making your calculations.
How to choose your stitch pattern
You’re nearly ready to tackle your pattern. The only thing left to remember is that some stitch patterns require a set number of stitches (you’ll need a multiple of four stitches for a 2x2 rib pattern), so tweak your final count to make it fit the stitch pattern you are using. It’s also worth remembering that some stitches like cables and rib will pull in the fabric and make that section of the pattern narrower. You can now use your existing knitting pattern as a guide but adapt the instructions to correspond with your own measurements so you get the perfect fit.
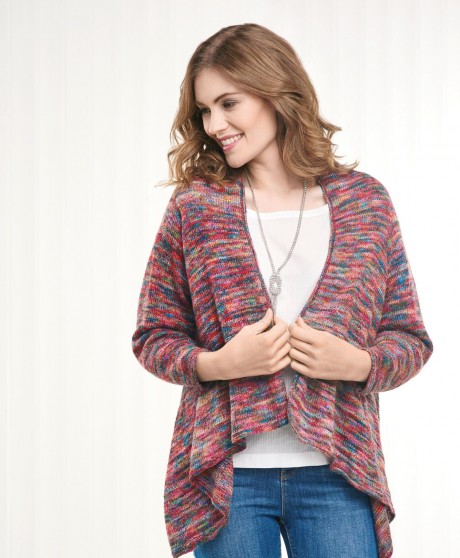
Waterfall cardigans, like this pattern from Sian Brown, are drapey and elegant, and can add long lines to lengthen your body shape. If you’ve got a fuller chest, tweak the pattern so the fullness of the folds sit below the bust.

Enhance your natural waist with a short-length, vintage-style sweater. Check out this cowl neck sweater knitting pattern by Lucinda Ganderton.
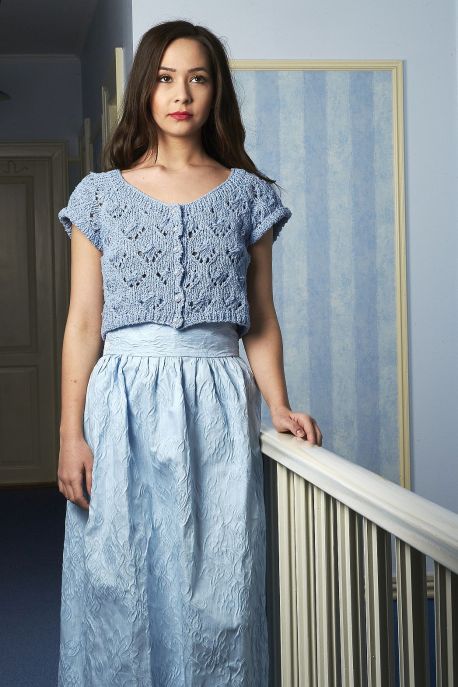
Balance out a wider lower section with a cropped cardi or bolero, like this lace cardigan knitting pattern from DesignEtte. Adjust the length to suit your height.
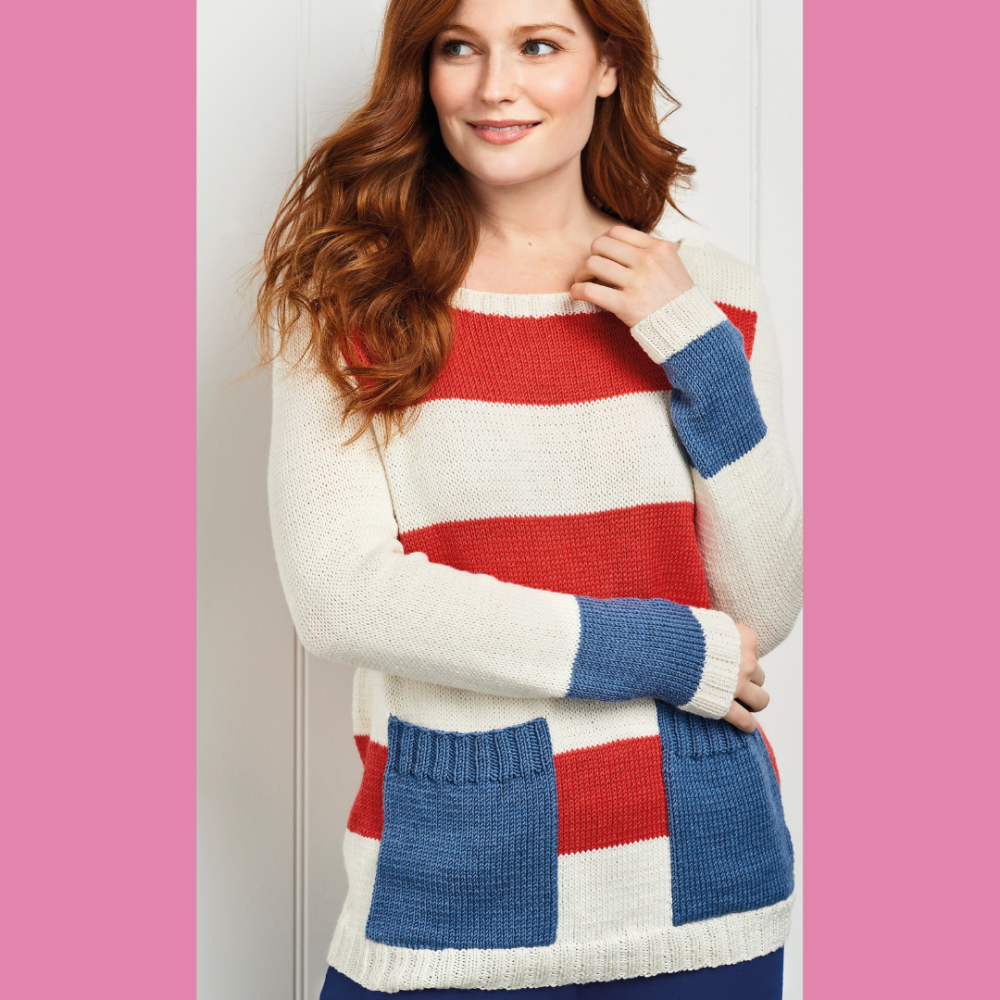
Want longer or shorter sleeves? Use the tension square in this Stripe Pocket Jumper knitting pattern to work out how many rows you need and adapt the pattern to suit you.
Expert advice from Amy Herzog
Designer and author Amy Herzog knows all about creating fitted and flattering knits, and reveals that you don’t need to be an expert knitter to have a go yourself
“Adjusting a pattern can sound intimidating, but it’s really not too difficult. Pattern numbers aren’t magic – the pattern’s stitch and row count are just measurements multiplied by the pattern’s gauge. So if you need to make a change, you can do the same thing; take the measurement you need, and multiply it
by your gauge to get a stitch or row count. It feels so amazing to wear clothing that’s actually been made to work for you (and that feeling is well worth getting out your calculator!)
The easiest changes to make are alterations in length. Patterns have a lot of ‘work straight’ or ‘without shaping’ sections, and you can adjust how long a piece is by working more or fewer rows than specified. It’s super simple, and feels great not to be tugging or pushing up your sleeves every 30 seconds! The more oversized and relaxed your garment’s construction is, the easier it will be to adjust. If you’d like a glorious sweater, but are nervous about the maths, try a drop-shoulder silhouette in a drapey, soft yarn.”


 Baby
Baby
 Toys
Toys
 Garments
 Crochet
 Homewares
 Dolls
Dolls
Share