

How to: block your work
video by
Let's Knit Together
- Overview
- Practical Guides
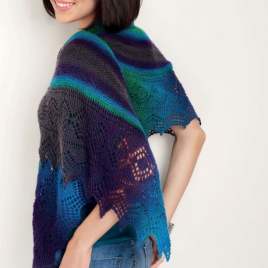
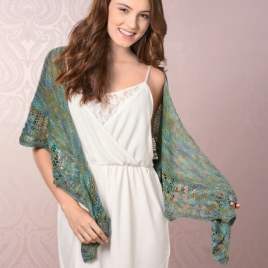
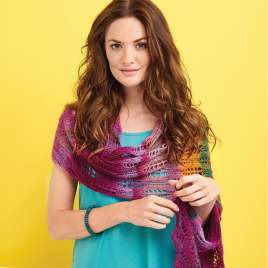
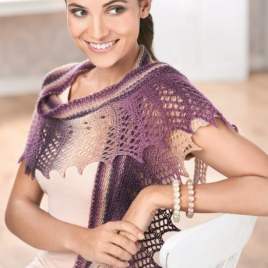
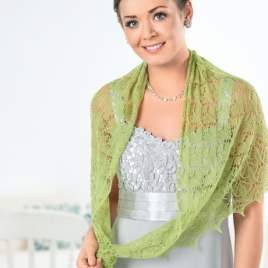
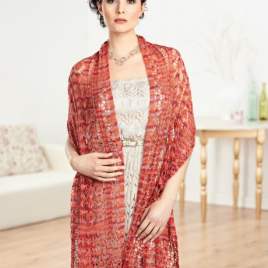
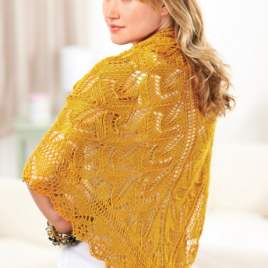
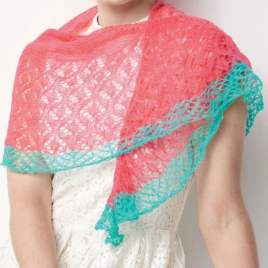
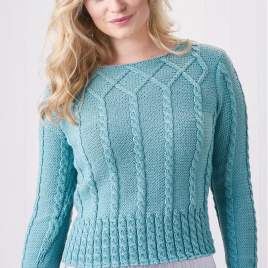
Blocking is done to set the shape and enhance the stitch definition of knitted pieces, helping it to lie flat. It involves wetting the fabric before making up, incase there is any shrinkage, and it helps to set the shape. It also gives you the opportunity to shape or reshape your pieces, sharpen points or corners and straighten edges, so is especially satisfying for lace or textured patterns that can look somewhat misshapen after being cast off.
Before you start There are two main types of blocking - wet blocking and steam blocking - and using your tension square is always a good way to check how the knitting appears after this process. Check the ball band to see what the washing and ironing instructions say, and the temperatures the yarn can take. There are four key elements for successful blocking: a way to wet your knitting, a solid flat surface, measuring tape and pins. Wetting can be done by submerging, spritzing or applying steam from an iron, with the water lukewarm or in accordance with the washing temperature. Wet blocking is best suited to textured stitch patterns with thicker fabrics, whereas spritzing can suit delicate or lightweight lace better. Only steam if your yarn calls for this, hovering the iron over the piece to relax fibres, and using a damp tea towel to protect the knitting if needed. TIP If you are concerned you have made your piece too wet, lay it out on a clean tea towel and roll up to remove some of the moisture before pinning. The flat surface must be able to take a pin and not be affected by damp. You can buy dense foam blocking mats that interlock to form larger mats, which is handy for garment pieces, or possibly use the ironing board or make your own with wadding under gingham stapled to MDF. The advantages of the foam boards are: - pins can be push in firmly and relatively easily - boards can be interlocked to form larger or shaped pieces the boards are light and easy to store when disassembled printed grid lines act as guides for straight edges TIP Be aware that other types of foam mat, such as children’s play mats may actually transfer colour, whereas purpose-design blocking mats from a reputable brand will be colour fast. Rust-free pins are needed, and stainless steel is best. You can use regular ball headed pins, but there are other types too, such T-pins for lace and fork blocking pins, or comb-like pin blocks that make light work of straight edges. How to pin out Once the piece is damp enough, place the knitting right side down, this will result in a smoother surface. If your item needs to be a specific size or shape, ensure you pin to these measurements. Start with one key edge, and pin the corners, then infill at regular intervals with pins. Pin out evenly, every few stitches, paying special attention to creating neat corners or points. If possible, pin the opposing edge next to set the dimensions, then the remaining sides. If the fabric edges are distorting between the pins, add extras to keep to the desired shape. The pieces need to lay flat until they have dried naturally, which can take a couple of days for garment pieces.