


How to: pick up stitches (straight edge)
video by
Let's Knit Together
- Overview
- Practical Guides
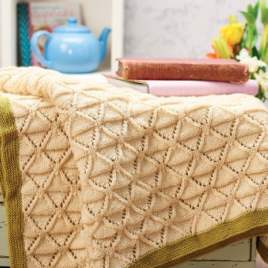
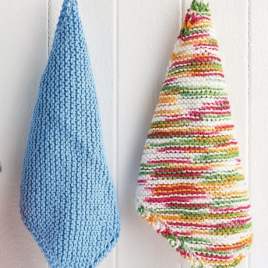
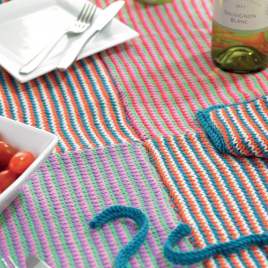
Picking up stitches can add a longer or contrasting piece to unify a number of other pieces, such as creating a border around a patchwork blanket. Here, we are picking up stitches from a straight row edge.
Picking up stitches may also need you to work along a diagonal, shaped or selvedge, as well, see other videos for these techniques.
To obtain a neat extension to your already knitted piece, stitches are usually picked up along the whole row or full width of the piece. If you have changed yarn weight, you will be working in a different stitch, or need to take account of seams, your pattern may tell you to work a different number of stitches. Unless stated otherwise, you’ll be working through the stitches in the row below an edge and using the same needles and yarn as for the main project, rather than the contrast yarn used for clarity in our tutorial. The edge of the original piece will leave a slight ridge on the wrong side, but if seen will look like a neat seam. With the right side facing you and an empty needle in your right hand, insert the tip through the centre of the edge stitch. With the yarn held at the back, wrap the yarn anticlockwise around the tip and pull through a loop through to the front to pick up your first stitch, leaving a 10-15cm tail for weaving in. This loop will be a bit loose until secured on the next row. Next, insert the needle into the centre of the adjacent stitch and pick up another loop in the same way. Repeat this action along the row, moving the stitches along the needle, to pick up and create a new set of stitches on your needle. Count the number of loops to make sure you have the correct number, then you are ready to continue with your pattern. Be sure to tighten up the very first picked up stitch on the return row. If you are working in stocking stitch rows, the next row will be purl stitches, but depending on the design it could be another pattern or even shaped piece that could not have been added before the project was pieced together. You may also find an instruction to pick up and knit in the middle of a piece of fabric to add a patch pocket, simply work this in the same way through the centre of the row of stitches.


 Kntting Video")


 Kntting Video")
