


How to: join with Kitchener stitch
video by
Let's Knit Together
- Overview
- Practical Guides
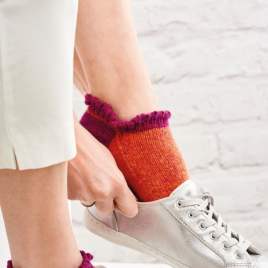
Kitchener Stitch is a great way to create a seamless join between two edges, for example, on the toes of socks or tips of mittens. Holding two needles parallel, you’ll graft the two sides together for a non-bulky seam using a tapestry needle.
If you find this tricky, you may want to transfer your stitches to smaller knitting needles, which will allow you more space to manoeuvre the tapestry needle, but it’s not essential.
Kitchener stitch is a sewing technique that creates a seamless join between two pieces of stocking stitch by adding a row of knit stitches. Said to be invented by Lord Kitchener, who was Secretary of State for War during World War One and this seam reduced chafing in socks. Take a length of your main yarn, around three times the length of the join you will be making, and thread it into a tapestry needle. The video uses a contrast yarn for demonstration purposes. Hold the two sets of stitches parallel on the needles in your left hand, with the wrong sides together. You have a front needle nearest to you and a back needle furthest away. First, work a joining stitch without lifting any stitches off the needles: Insert the tapestry needle into the first stitch on the front needle front purlwise (from back to front), pull yarn through, leaving a tail for weaving in. Next, go under the knitting needles and insert the tapestry needle into the first st at the back knitwise (from back to front). This has now joined the two sides and you are ready to work along the row. In short, to join purl into the first front stitch, knit into the first back stitch, without lifting off either stitch. To continue with Kitchener Stitch: Go back to the first front stitch, insert the tapestry needle knitwise and slip the stitch off the needle. Purl into the next stitch on the front needle, but don’t slip it off. Take the tapestry needle under the knitting needles to work on the back needle. Insert the tapestry needle purlwise into the first back stitch and slip it off the needle. Insert the tapestry needle into the next back stitch knitwise, don’t slip it off the needle. Repeat this sequence, working two stitches on each needle and moving the tapestry needle under the needles. In short: Front needle: knit, slip off, purl Back needle: purl, slip off, knit Take it steady, and every few stitches pull on the joining yarn to match the tension to the main knitting, a tapestry needle can also help to ease the yarn along if it is too tight or loose. On the very last stitch, insert the tapestry needle down through the centre of the stitch to fasten off. Check the tension along the join, then weave in the ends as usual.


 Kntting Video")


 Kntting Video")
