How to: increase a purl stitch (pfb)
video by
Let's Knit Together
- Overview
- Practical Guides
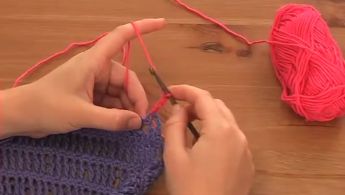
Pfb in a pattern means to work into the front and back of a purl stitch. This increases your number of stitches by one when working on a purl row or set of purl pattern stitches.
It’s often found at the beginning of a purl row to create an immediate increase on the left when viewed from the front.
A pfb is an increase that is worked into the same stitch, often on the purl side of a stocking stitch fabric. Work a purl stitch as normal, but before you lift it off the left-hand needle, turn your work towards you so you can insert the right-hand needle into the same stitch from back to front. Wrap the yarn as usual around the tip of the needle at the front of the work and then take the needle through to the back to complete the pfb, making two stitches out of one. This stitch can look trickier than it is as you have to work through the back loop after you have already worked through the stitch once, but when complete it forms a very flat increase, with a short horizontal bar under the extra stitch on the front of the stocking stitch fabric. If you find it tricky to get the needle through the back of the stitch, before you work the pfb, expand the stitch on the left-hand needle a bit by putting the needle through and stretch it. You may also notice a small hole beneath the bar of the extra stitch, which may be part of the overall design or will be hidden if part of the seam.



_268_268_64_c1.jpg)
