


How to: work satin stitch
video by
Let's Knit Together
- Overview
- Practical Guides
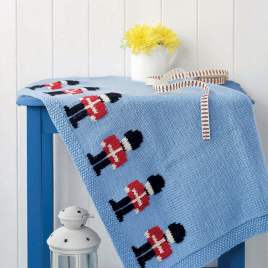
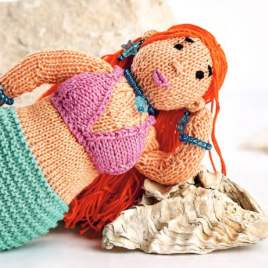
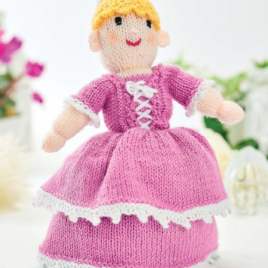
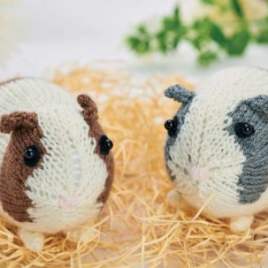
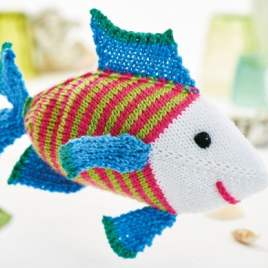
This embroidery stitch is used to fill small areas with parallel stitches and is especially good for adding doll hair and animal noses, or filling flat leaves and petals in a flower motif.
Before using this stitch to make a shape on a project, practise filling a small area with satin stitches in the yarn or thread you plan to use.
The aim with satin stitch is to create a solid-looking block of single stitches worked in the same direction and this requires well-defined edges, so take care not to make your stitches uneven or wonky, unless this is all part of the look! You can also go over the area with a few layers of stitches to build up a mounded shape, as long as it doesn’t distort the background knitting. Follow the picture and count stitches to get the feature in the right places, using the natural gaps, rows and columns of your knitting for the framework. You may find it helpful to use an air-erasable pen or thread to plot out the area first. Bear in mind that a nose is usually equidistant from the sides but may not be in the middle from top to bottom, to make space for other features or hair. For an even effect, each stitch in satin stitch is usually the same length, lies close to the surface and isn’t much more than a couple of centimetres to avoid snagging. Thread a tapestry needle with a 15-20cm length of yarn or embroidery thread, to minimise overworking it or the knitted fabric. Yarn can be used single, or double for a denser coverage, and it’s usual to use several strands of embroidery thread in the needle at a time. Fasten off on the wrong side, either with a knot or weaving the end through a few stitches, or you may be able to enclose the end with your satin stitches. Bring up your tapestry needle through a gap at one corner of the area to stitch, so you can work across it in an orderly way. Insert your needle back down to the wrong side to establish the length of your stitch, making sure it lies flat, but not so much that it puckers the fabric. Bring your needle back out again level with the first stitch, very close and in line with the first - you may have to split stitches - and then back down again adjacent to the end point of the previous stitch. Continue in this way to create the shape, using adjacent stitches and insert or exit points as a guide and the result will be an area of densely packed single stitches with neat edges. Fasten off to secure the embroidery thread, unless you intend to work back across the shape to build it up more.


 Kntting Video")


 Kntting Video")
