How to: work a cable cast on
video by
Let's Knit Together
- Overview
- Practical Guides
For a neat and firm cast on, the cable cast on is a good bet. It is discrete and forms a narrow roll of stitches on the cast-on edge, so works well if you’re going to be working in stocking stitch.
Once you’ve cast on a few stitches you’ll start to see the edge forming. Beware of your stitches being very tight on your needle – it could end up with a puckered edge to your knitting.
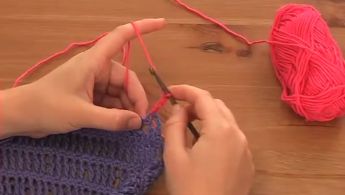
To begin, you’ll need to create a slip knot, then cast on one stitch as in a two-needle cast on using the slip knit as the first stitch. Insert the RH needle tip into the slip knot from front to back, wrap the yarn anticlockwise at the back and pull the loop through. Transfer the stitch back to the LH needle from the right side of the loop, turning the stitch and creating a more defined edge. Now have 2 sts on your needle ready for your cable cast on. Insert tip of RH needle BETWEEN the two sts, wrap yarn anticlockwise at back, and bring a loop through. Transfer to LH needle in the same way as for normal two-needle cast-on by picking up and turning the st from its right side. Continue with the cable cast on, working BETWEEN the two sts nearest the tip. Insert, wrap, pull through, then transfer. The difference is that you are not working through a stitch to make a new one, but between. When you have cast on your sts, you can continue with your pattern.

