


How to: work chain stitch
video by
Let's Knit Together
- Overview
- Practical Guides
As the name suggests, this embroidery stitch forms a chain of single stitches, the beauty of which is that you can meander across the surface of your fabric making decorative lines, shapes or even letters.
When using a knot to fasten off yarn, weave it through a couple of stitches on the wrong side first so that it can’t simply slip through the knitted fabric.
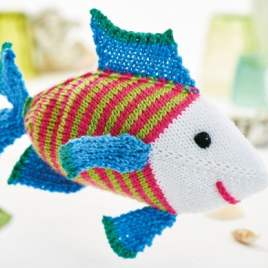
Chain stitch works well on knitted fabrics with it’s similar stitch shape, but with the benefit of being able to roam across the surface making whatever shape takes your fancy. From decorative spirals to straight-edged outlines, stitched on smiles or animal whiskers, it’s a handy stitch to know. There are two ways to work this easy embroidery technique, loop first or anchor stitch first. Both will give the same look, so choose your embroidery thread or yarn and use a tapestry needle. To keep on track with your design, make sure you know where you want to go with your chain stitch - you don’t have to use the natural gaps in the knitting, but it can help to keep your stitches regular when working straight lines. As a guide, the length of embroidery will use about three times the amount of yarn and remember to allow an extra 10-15cm for working with the tapestry needle and weaving in ends. Avoid strands much longer than 30cm, as this is gets awkward to work with. Secure the embroidery thread on the wrong side with a knot or by weaving through a few stitches where you want your chain to start. With the loop first method, bring the needle out to the front at the start of your chain, then reinsert it down the same hole leaving a small loop at the front. Pull the loop and hold it flat against the fabric to get your perfect chain size and secure this by bringing up the needle just inside the end of this loop. Make another loop the same size as the first, then take the needle back down the exit hole. Bring the needle out again at the top of the loop you just made, then back down again. The last loop secures the previous one. Repeat this to finish your chain, or you need to fasten off and continue with another length. The final chain stitch needs fastening down, so bring the needle up as though to make another stitch, but then simply make a discreet stitch over the loop to make it lie flat, then fasten off. To work the anchor stitch method, start with a short stitch direction of your chain on the right side. Next, bring the needle from back to front to the length of stitch you want, and pass the needle under the anchor stitch above - not through fabric - then back down the hole it came out of to create the first chain. For the next stitch, bring the needle back up a stitch length away, and pass it under the V of chain stitch above, then back down the same hole. Repeat for your line of chain stitches. On the last stitch, go back down the loop hole and fasten off to finish your chain. With just a little practice, you’ll be able to judge your stitch length easily and work this embroidery stitch smoothly.


 Kntting Video")


 Kntting Video")
