How to: join edges with back stitch
video by
Let's Knit Together
- Overview
- Practical Guides
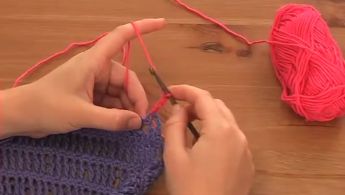
If you want a strong seam for a toy or garment, and a slightly bulkier edge is acceptable, back stitch is very useful. It's worked with the right sides facing to hide the seam.
Keep an eye on both sides of your work every few stitches to maintain an even seam allowance all the way along.
It’s usual to use the same yarn in a tapestry needle for making up, unless it’s a very delicate item (in which case a strong thread may be better). This is not only for a more invisible seam, should your joining stitches show through, but also keeps the yarn the same throughout for care and washing. Bind your pieces with right sides together with a couple of oversewing (whip stitches) at the start or finish, making sure this stitch is in line with the seam you intend to sew. After a few back stitches of the same length (0.5–1cm), open out your two pieces and take a look at the seam on the right side. Make sure you’re happy that the distance between your stitches gives you a strong enough seam, that the tension of your sewing is not too tight or too loose, and also that you are working right at the edges, as these can show and spoil the seam. It’s much easier to unpick a few stitches and start again to adjust any of these issues at the beginning, than to find you’ve worked a long seam that is too gappy, puckers or meanders.

