


How to: work an i-cord
video by
Let's Knit Together
- Overview
- Practical Guides
For a tight, knitted cord that needs no making up, an i-cord is the answer. Formed from just a few stitches, it’s also quick to work. All you need is a pair of DPNs to work your yarn.
For a tight, knitted cord that needs no making up, an i-cord is the answer. Formed from just a few stitches, it’s also quick to work. All you need is a pair of DPNs to work your yarn.
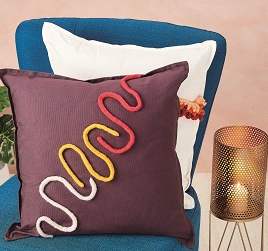
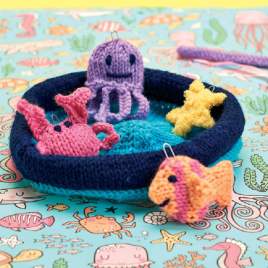
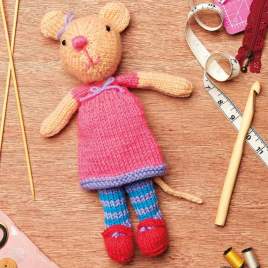
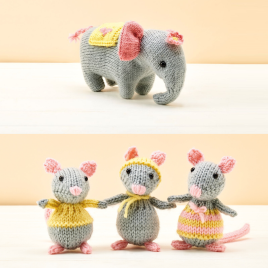
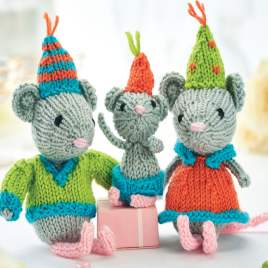
This neat, self-forming cord is not only useful for drawstrings, jewellery and making 3D surface decorations, it’s also handy in short lengths for toys – think antenna, arms, legs or tails! Essentially a tight knitted tube, it has to be worked over a small number of stitches, and the bonus is that you get to see the results of your efforts in no time. You’ll need two matching DPNs, and start by making a slip knot, then cast on two more stitches, or follow your pattern. Knit all the stitches as normal, but then do not turn to work back across the row. Instead, slide the stitches to the end of the needle. Now, with the yarn across back from the furthest stitch, knit to the end again. Once you get into the rhythm, it will seem less fiddly. Pull gently on the cast-on tail every few rows and this will help to set the i-cord more firmly and define the knitted V stitches. If you seem to have a ladder or gap forming at the back, knit the first stitch more tightly. Repeat this action until the cord is the length you need, then cast off knitwise. Weave in the ends by threading onto a tapestry needle and ‘losing’ the tail inside the tube, unless they are to be used for attaching the i-cord. You’ll notice that the one end may be a little flatter and less pointy than the other, so consider this if you the i-cords are to be used for limbs. You can always round off the ends by pulling the tail down firmly inside the tube. The type of yarn and needle will naturally make a difference to the look, flexibility and feel of your i-cord, but this also offers many possibilities - think colour-change yarn, mohair, stripes - why not have play? You’ll be wondering what you can use your i-cords for!


 Kntting Video")


 Kntting Video")
