How to: work slip stitch knitting
video by
Let's Knit Together
- Overview
- Practical Guides
Slip stitch knitting, also called mosaic knitting, is an absolute gem for knitted colourwork as it is capable of producing fabulous colour designs from what is essentially knitting stripes and working with one yarn at a time.
There are lots of patterns that can be created with this simple technique, including chevrons, checks and Fair Isle effects, making it an easy option compared to carrying yarns or having bobbins hanging from the back of your work.
Slipping a stitch, rather than working it, keeps that colour on the row, so if you have changed to a different yarn this has the visual effect of reintroducing the colour from the previous row. In effect, what you have done is stretched a stitch to the next row. The elongated stitches can be seen if you look closely, but for some reason the eye is more distracted by the pattern. There is a limit to this technique, as the same stitch cannot be slipped more than a couple of times, but the effect can still be very striking.
It will also produce a short float of the working yarn colour at the back after it it used again, so take care to not pull this yarn tightly for the next stitch, as this can distort your knitting.
Slip stitch knitting is often worked from a coloured chart and in stocking stitch. As is usual with charts one square is equivalent to one stitch and when worked in rows, the chart is read from the bottom up and from right to left for knit rows and left to right for purl rows. Alternatively, slipped stitches may be indicated in a written pattern with the yarn colour.
To carry yarn up the sides for repeated stripes, twist yarns together at the ends, but ideally only carry two yarns at any one time to reduce bulk in the seams.
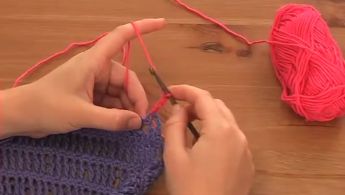
Always slip stitches purlwise (unless indicated otherwise), that is inserting the right needle into the stitch on the left as it to purl it but then simply transferring to the right needle without working it. On a knit row, slip the stitch purlwise with the yarn in the back, and for a purl row, slip the stitch purlwise with the yarn in the front.
Follow the chart (or pattern) to work stitches in a certain yarn colour, slipping stitches as indicated to create the wonderful mosaic effect.


