

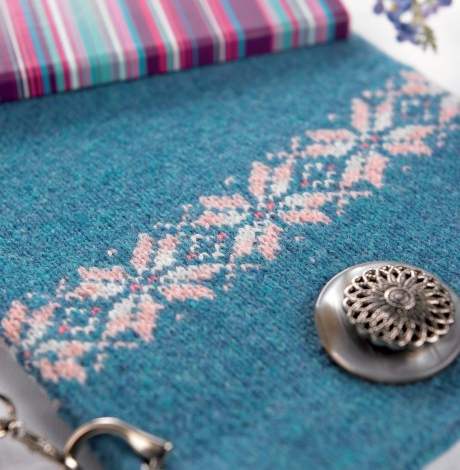
If you’re keen on all of the fashionable scandi-style patterns this winter, but think Fair Isle knitting is too complex for you then think again! It’s actually very easy, as our step-by-step tutorial will show.
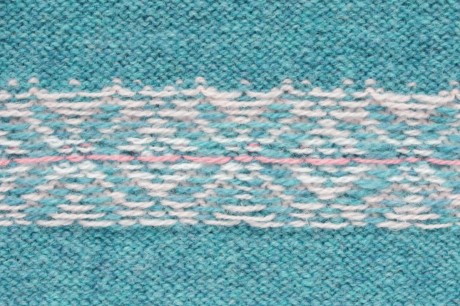
Fair Isle is made up of short stitch patterns repeated across the width of the fabric to create either a narrow, horizontal, decorative stripe or an all-over intricate design. Traditionally it is knitted in stocking stitch and, despite its complex appearance, rarely features more than two yarns on any one row. Also, only one shade is worked at a time so it is much more manageable than it looks.
LK Designer Luise Roberts has broken down the technique into handy steps to produce this easy-to-follow three-part guide. Next fortnight we’ll look at Fair Isle in the round and weaving, while in the third part we’ll cover how to work with one colour in each hand. But don’t worry - we’ll start off with the basics!
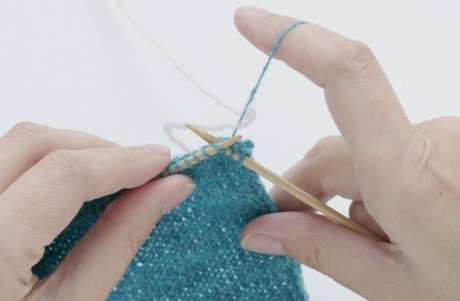
Joining in the yarn
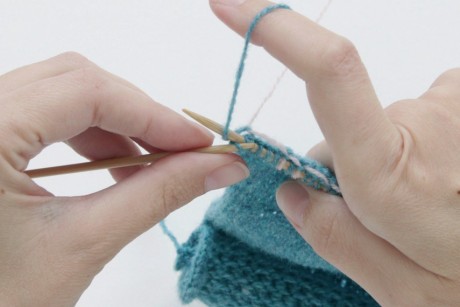
Work until one stitch before the first colour change, lay the new yarn (pink) across the main colour (blue) leaving a 10cm tail and knit the stitch in the main shade (blue). This method makes it easier to adjust the stitches later if necessary.
Step 1: Changing from main colour (blue) to new colour (pink)
Select the new shade (pink), pass it over the main colour (blue) and knit the required stitch. Keep the previous stitches evenly spaced along the RH needle, like they would be spaced in the finished fabric, so the float or strand of the new colour (pink) that passes behind them is the correct length for the distance. Use the same technique on a purl row, but purl the stitches instead of knitting them.
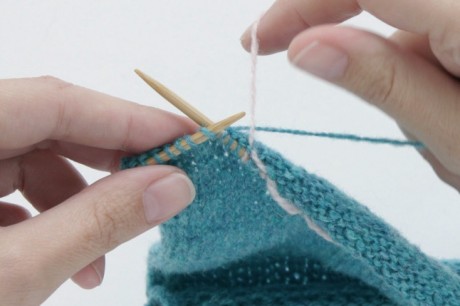
Step 2: Changing from new colour (pink) to main colour (blue)
Select the main colour (blue) from under the new shade (pink), and knit the required stitch. Again, be aware of the spacing of the stitches on the RH needle – do not allow the stitches to bunch up or become too widely spaced. Use the same technique on a purl row, but purl the stitches instead of knitting them.
NOTE: the lie of the strands is important for achieving flat, even knitting. By passing the pink yarn over the blue, and moving the blue under the pink each time, it keeps the relative positions of the yarn the same and the strands will lay flat along two lines at the back of the row.
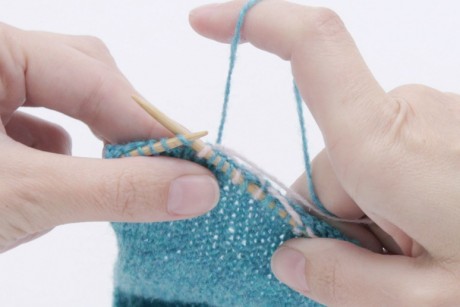
Step 3: At the end of each row
Twist one colour over the other before working the last stitch of the row. This continues the dense Fair Isle fabric to the edge of your work and positions both yarns to the left of the stitches on the following row.
Step 4: The finish
The strands or floats should be loose enough so as not to pucker the work, but not so slack as to snag or create baggy stitches when the yarn is first worked again.
Carrying the colours
Stranding is the Fair Isle technique where each shade is carried across the back of the work until it is next required. This works best when the blocks of each colour are fewer than five stitches long. Working with a longer strand, or float as they are also known, increases the risk of distorting the fabric and is more liable to snag on the wrong side. Not all Fair Isle patterns can be worked using the stranding technique. For blocks of colour more than five stitches long, the yarn that is not being worked is looped around the working yarn to hold it close to the fabric. This is called weaving and will be discussed in the second Fair Isle workshop next fortnight.
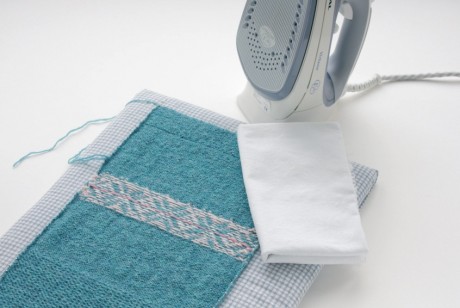
Blocking
If the knitting tension is correct, pin the work out to the dimensions given in the pattern. There will be some slack in the fabric if more than one stitch pattern has been used. Press using an iron on top of a damp cloth; this will also shrink the wool slightly and set the Fair Isle stitches.
In the Know: Top Tips from LK Designer Luise Roberts
- Use the correct needles and yarn
Work your first attempt at Fair Isle with bamboo knitting needles and pure wool yarn. Both of these will give you more control over your stitches.
- Be consistent
For a smooth, even finish on the RS and WS of the fabric, work the main colour and the second colour with the float in the same relative position, either above or below. For example, in this case the blue yarn is always below the pink yarn.
- Avoid twisted and tangled yarn
Organise the turning of the needles and work so as to twist and untwist the yarns as you go. Position the yarns on your lap side-by-side then, if you are about to start a purl row (across the WS) turn the work BACK or ANTI-CLOCKWISE before starting the next row. If you are about to start a knit row (across the RS), turn the work FORWARD or CLOCKWISE before starting the next row.
And remember: stay patient, and don’t be afraid to make mistakes. Even the most professional knitters do!
Love this tutorial? Read part two here.


_333_180_c1.png)

 Baby
Baby
 Toys
Toys
 Garments
 Crochet
 Homewares
 Dolls
Dolls
Share