

LK designer Val Pierce gives part 2 of her tutorial on how to make sure your toys are loved for years to come
We recently brought you the first part of our toy-making tutorial and discussed the design, the choice of yarns, and how to go about sewing together your creation. We also looked at stuffing to get the perfect shape and a few tricky areas concerning the head of your toy. In our final instalment, Val Pierce shows us how to attach the body parts and embroider cute facial expressions to make your loveable character a true family favourite.
Attaching arms and legs
Before stitching the arms and legs to a toy, check that they are stuffed equally and are the same size and shape. Pin the limbs into position on the body before you sew them in place. Try to get equal distances between the pieces, and check whether your toy needs to be sitting or standing, as this will affect the positioning of the legs. If you have left a long tail when casting off the pieces, you can use this for joining them together. This eliminates the need to weave in the ends and provides a firm anchor for sewing up.
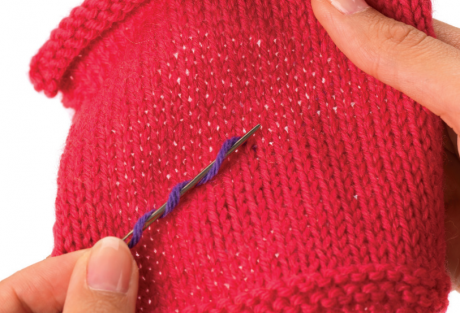
Using matching yarn (we have used blue for illustrative purposes) and a blunt-ended tapestry needle, sew the limbs onto the body very firmly, taking a stitch on the limb and then a stitch on the body alternately until you have sewn it firmly in place. Go over the same area twice if you feel the join is not quite firm enough.
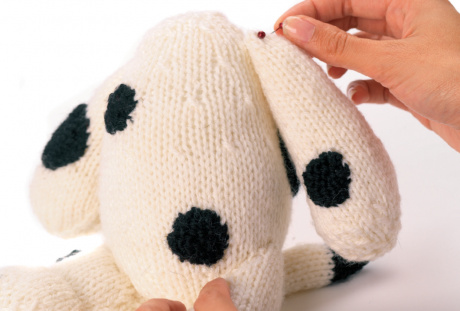
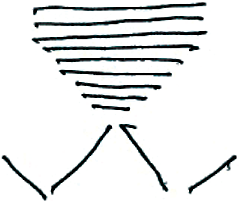
Pin the arm in place

Sew one stitch from arm and one stitch from body alternately
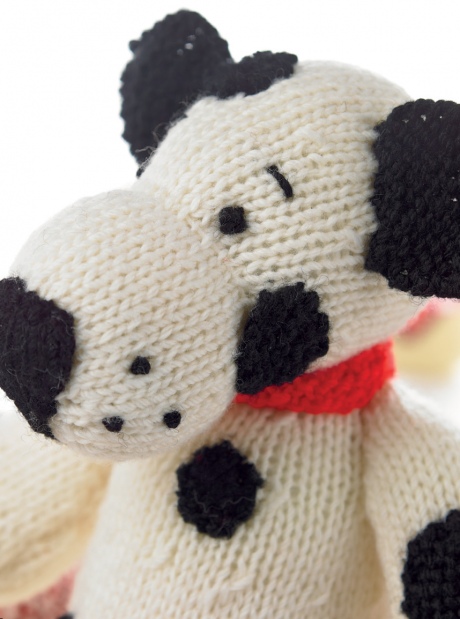
Shaping the head
Very often the head will appear to wobble when sewn in place, and it can feel like no matter how hard you try the head never seems to be firm. This is a result of the head and body not being equally stuffed - if the head is too heavy it will not sit correctly. You can always add a little more stuffing to a piece by opening a tiny part of the seam, and you can remove stuffing in the same way. To sew a head to a body tack it in place with a few stitches placed around the neck edge. This will hold it steady whilst you then begin to sew the two pieces more firmly. Constantly check that the head is in the correct position. Mostly it will be facing front and straight, but it is possible to angle the head very slightly to give a cute look.
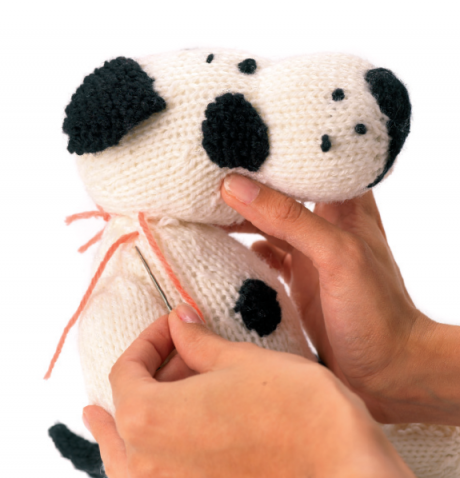
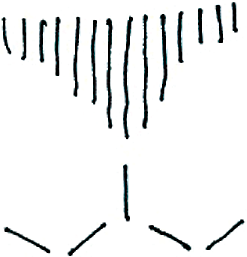
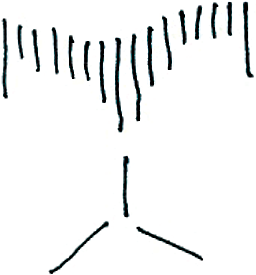
Loosely tack the head in position
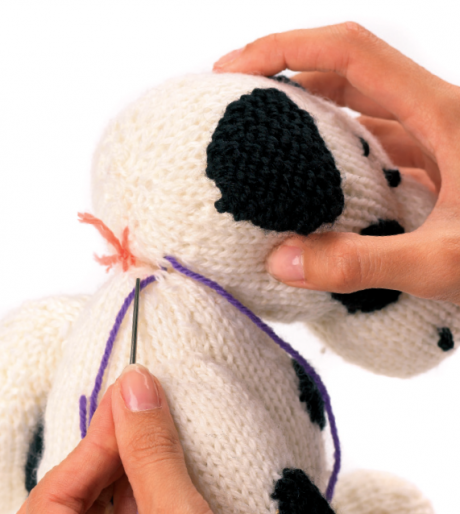
Sew one stitch from body and one from head
Facial features
Features can make or break your toy and take much practice to get looking just right. Always try out techniques on a test swatch before you begin. Look closely at the picture of the face you are going to copy, note the placing of the eyes, nose and mouth and put markers on the toys face to identify where they should be worked. If you are using toy safety eyes they will need to be fitted when you have partially stuffed the head. Take extra care when placing them as once they are locked in place they cannot be repositioned. Remember, you need to both hear and feel the eye pieces click together as they slot into place, otherwise they will not be secure.
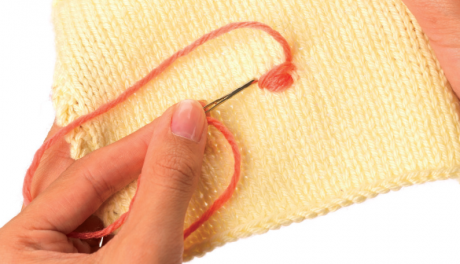
Embroidery
There are many ways of adding embroidered features. Practice is the only way to achieve good results and patience is needed too. If you do it wrong, unpick and start again; you will be glad you did when you see your finished toy.
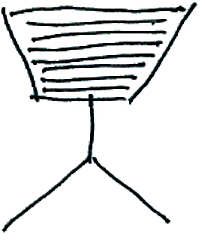
Satin stitch
Most noses for teddy bears and bigger animals can be worked using satin stitch, which is where lots of straight stitches are placed closely together to look like a solid area.
How to do it: using wool or embroidery thread and a blunt ended needle, sew a line at a time, working each consecutive line close beside the one just worked. Work slowly and evenly to achieve a good result - pulling too tightly will result in puckered fabric and an odd-shaped nose.
Here are some examples of facial expressions:
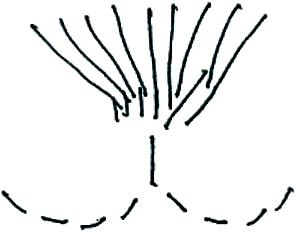
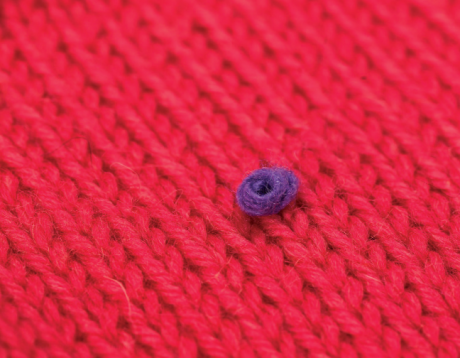
French knots
Eyes can be embroidered using French knots, working from side to side and pulling each eye as you work, which helps to shape the head. French knots can also be used to depict a nose. Just the right amount of tension is required for this technique and this will come with practice.
1 Bring the yarn needle out to the RS of the work, working close to the fabric, wrap the yarn around the needle three times.
2 Holding the yarn from the wraps firmly against the fabric, take the needle back through the work, pulling it through the wraps.
Val’s last word
[] After spending many hours knitting up the pieces to make your project, take time and patience with stuffing, sewing up, and the facial embroidery – you want to make sure your finished masterpiece is going to give many years of pleasure and hugs to the lucky recipient.
[] Safety is paramount so make sure that you take every care to ensure that your toy is going to be able to withstand the pulling and tugging and general wear and tear of playtime.
[] Double check all of your seams: give them a hard tug, the same applies to limbs and heads.
[] Use washable safety stuffing.
[] The younger the child, the more basic the toy needs to be – use patterning or cables to add interest, but avoid buttons and ribbons.
If you’d like to try knitting your own toy, check out Sachiyo Ishii’s easy patchwork teddy bear!


 Baby
Baby
 Toys
Toys
 Garments
 Crochet
 Homewares
 Dolls
Dolls
Share