

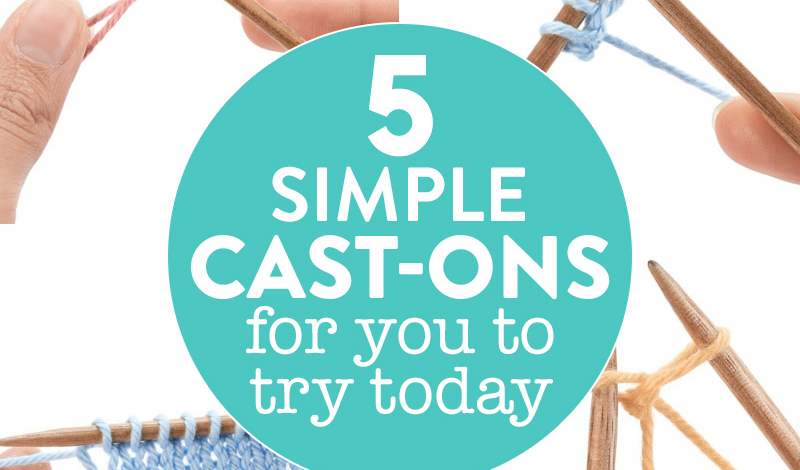
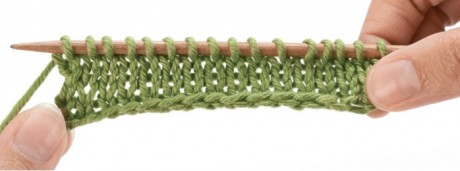
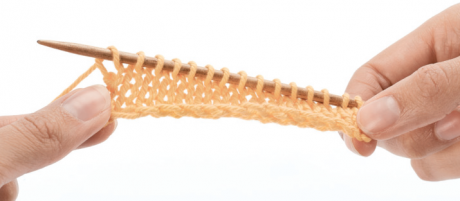
Expand your casting-on skills with our step-by-step tutorials
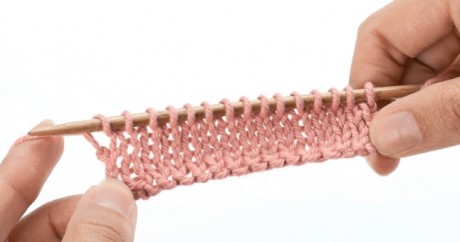
There are a great many ways to start your knitting and each method has its advantages. Some are quick and easy, others create firm edges, then there are those that are wonderfully stretchy. Once you’ve mastered the methods, you’ll be able to pick and choose the one that best suits you and your project!
1. Backward Loop Method
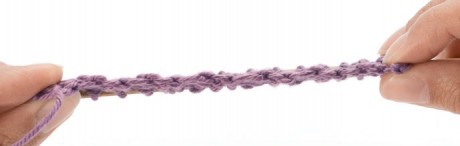
This is a really quick and easy cast on that is often used by beginners. The finished edge is not as neat as for other methods, so it is best for edges that will be hidden in seams or by tassels.
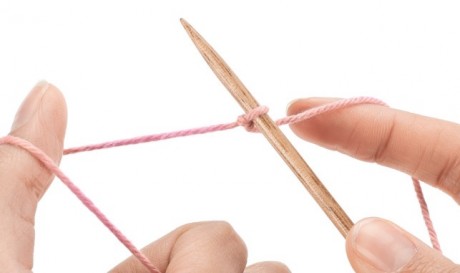
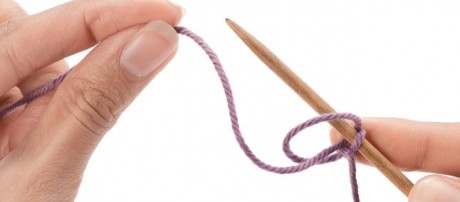
Leaving a short yarn tail, make a slip knot and place it on the needle
Step 1: Wrap the working yarn around your thumb and hold the yarn taut
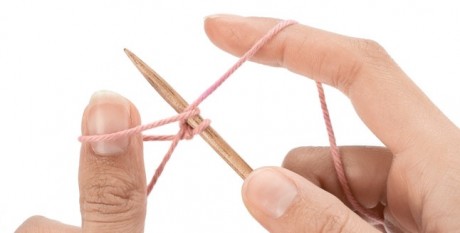
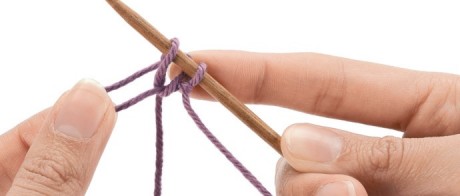
Step 2: Insert the needle underneath the strand coming in front of your thumb to make a loop on the needle
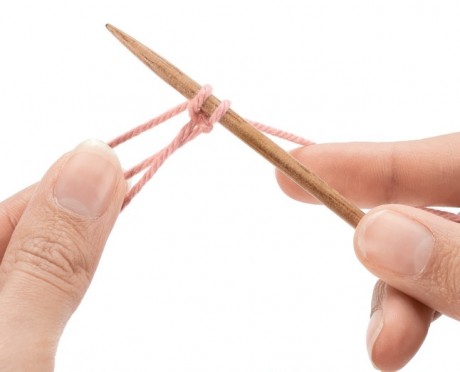
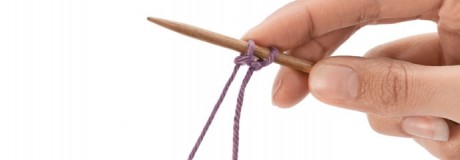
Step 3: Remove your thumb and pull the working yarn tight
Repeat Steps 1-3 until all stitches are cast on, remembering your slip knot will count as the first stitch.
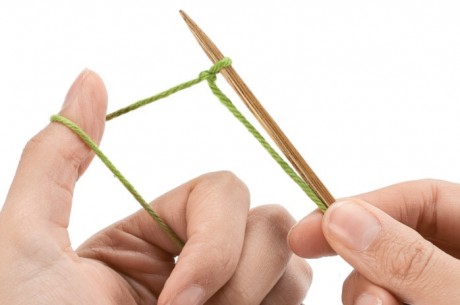
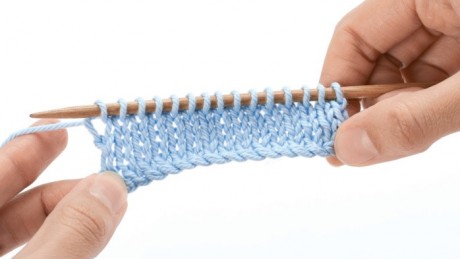
2. Long-Tail Thumb Method
This is also a quick method and gives a firm, yet slightly stretchy cast-on edge.
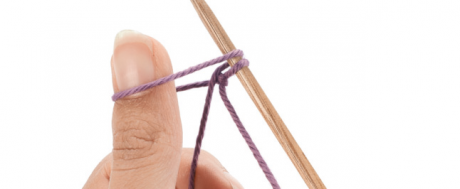
Leaving a long yarn tail about four times the width of your project, make a slip knot and place it on the needle
Step 1: Wrap the tail yarn around your thumb
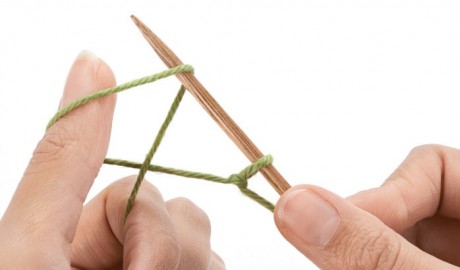
Step 2: Insert the needle underneath the strand coming in front of your thumb to make a loop on the needle, then wrap the working yarn from left to right around the needle
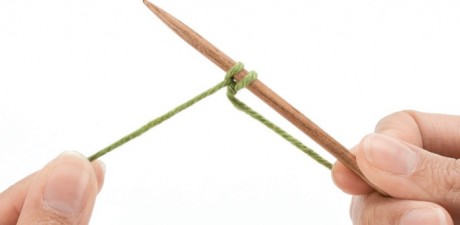
Step 3: Transfer the rest of the loop from your thumb to the end of the needle, remove your thumb and pull tight
Repeat Steps 1-3 until all stitches are cast on, remembering your slip knot will count as the first stitch.
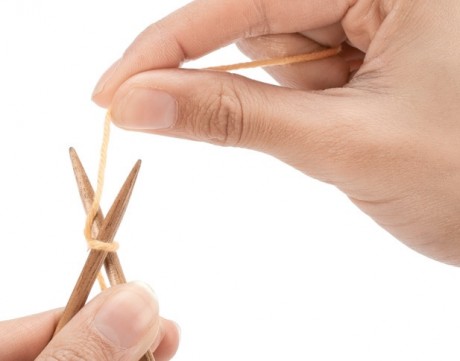
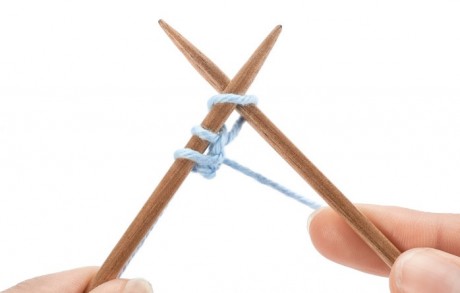
3. Two-Needle Method
Also known as the Knitted Cast On, this creates a neat, strong edge. Some beginners find this technique easier as it is based on the knit stitch.
Leaving a short yarn tail, make a slip knot and place it on one needle
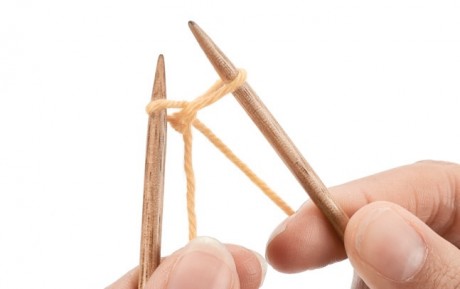
Step 1: Hold this needle in your left hand, then insert the right-hand (RH) needle through the slip knot. Wrap the working yarn around the tip of the RH needle from left to right
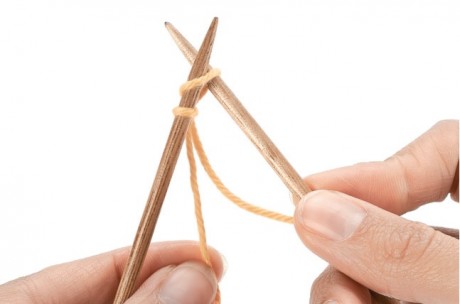
Step 2: Using the tip of the RH needle, hook the wrapped strand and pull it through the slip knot
Step 3: Inserting the left-hand (LH) needle up through the new loop from front to back, slide the new loop from your RH to LH needle
Repeat Steps 1-3 until all stitches are cast on, inserting your RH needle through the stitch at end of the LH needle each time.
4. Cable Cast On Method
This gives a really strong, firm edge and is a good method to use when instructed to cast on in the middle or at the beginning of a row.
Steps 1-3: Work as Steps 1-3 for the Two-needle method, you will have two stitches on your needle, remembering that the slip knot counts as one stitch

Step 4: Insert your RH needle between the first two stitches on the LH needle, wrap the working yarn around the tip of the RH needle

Step 5: Use the tip of the RH needle to pull the strand through between the stitches, slip this loop on to the LH as before
Repeat Steps 4-5 until all stitches are cast on.
5. Slip Knot Cast On
Also known as Jenny’s Stretchy Slip Knot Cast On or the Buttonhole Cast On. This technique is ideal for rib patterns. It’s made up of lots of slip knots positioned really closely together, which gives a stretchy edge. You will need a smooth yarn for this method.
Leaving a short yarn tail, make a slip knot and place it on the needle
Step 1: Wrap the yarn around your thumb and hold it taut

Step 2: Insert the needle underneath the strand coming in front of your thumb to create a loop. Make sure this loop is positioned as closely to the slip knot (or last stitch) as possible
Step 3: Holding the loop in place, wrap the working yarn around the needle from left to right
Step 4: Keeping part of the loop held close to the slip knot (or previous stitch), pass the loop off the end of the needle
Step 5: Use your thumb to keep the stitch in position on the needle, but allow the yarn to slide as you pull the working yarn tight
Repeat Steps 1-4 until all stitches are cast on, placing each loop really close to the previous stitch. If you leave a gap, you will not be able to tighten the slack at a later point so just redo that stitch.
Have you ever tried a different kind of cast on before? Tell us all about it over on Facebook or Twitter!


 Baby
Baby
 Toys
Toys
 Garments
 Crochet
 Homewares
 Dolls
Dolls
Share