


How to: work blanket stitch
video by
Let's Knit Together
- Overview
- Practical Guides
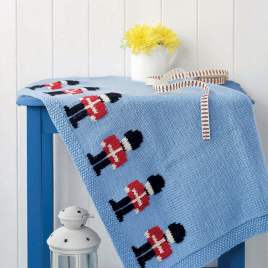
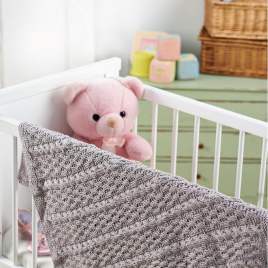
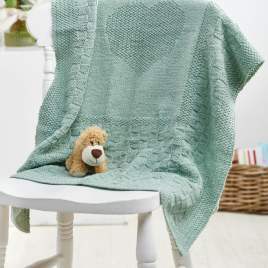
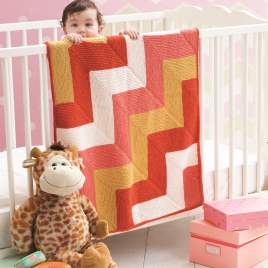
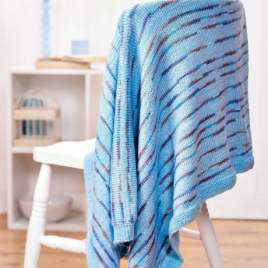
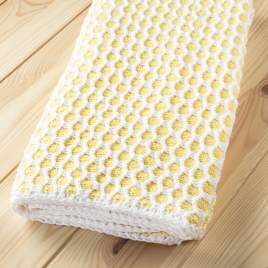
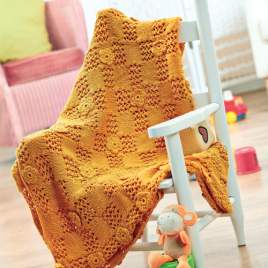
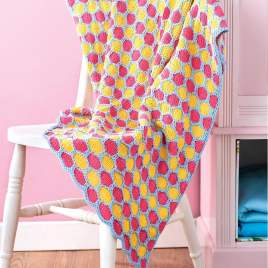
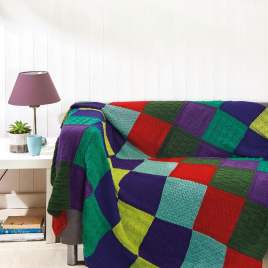
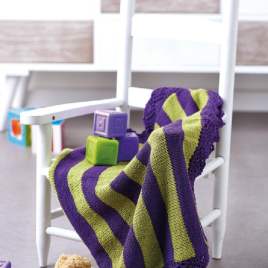
As the name suggests, this stitch has long been associated with blankets. It is an embroidery stitch, rather than a knitted stitch, and is used mainly to add a contrast edging not just for homewares but also to embellish cuffs, pockets and even buttonholes.
Blanket stitch disguises the various different edges by providing a unifying appearance of a continuous design around a finished piece, punctuated by regular vertical stitches. The aim is to create a boxy and geometrical effect, with the length of the horizontal stitch along the bottom being roughly the same as the height of vertical stitch, but by all means experiment! Just take care that stitches don’t get too long and loose, otherwise they may sag and potentially snag. You’ll need a tapestry needle and contrast yarn, or embroidery thread. Add this at the end of your project after the ends have been woven in and it has been blocked, if necessary, and for a garment, often after it has been pieced together. TIP Avoid splitting the yarn of the stitches as you work – it won't look as neat and it’s much easier to work through an existing hole. It’s best to start from a corner to work from right to left, or vice versa. Decide which row you want to work into, bearing in mind this will depend on the height of the blanket stitch you want to create; often the second or third row up works well. As a guide, the blanket stitch in the video sample was worked into every V on the second row, and every second stitch on the second column in on the row ends. If you will be working around corners, check that you will be able to create an even stitch length from the adjacent side. Fasten the yarn or thread at the back through a few stitches, or hold securely and weave in the ends later. Always work with the right side facing you, so you can check the effect you are creating, while remembering to keep an eye on the back for neatness, too. To start, bring the needle through to the front, but close to the bottom edge, from back to front, through a natural gap. To make a blanket stitch, move the needle diagonally across and up by your chosen stitch length and insert the needle from front to back and, at the same time, straight down to the edge at right angles. Pass the needle tip over the strand (through the loop) and tighten until the horizontal strand is along the edge and the vertical strand is close to the surface, all without distorting the knitting. The horizontal stitch is anchored and pulled across by passing the vertical strand over it. Repeat this action of going diagonally across the front to the next insertion point, then taking the needle down the back and over the strand to create a neat edging. To work around a right-angled corner, work three blanket stitches into the same point: the first one will be vertically up from the bottom edge, ensure the second stitch runs diagonally across the corner, and the third one will sit horizontally and be the guide stitch for working up the row-end edge. Make sure you go into the same place at the next corner, so all your corners match each other, otherwise you could end up with an edge of blanket stitch with a slightly different depth. Remember that what was a V stitch will now look more like an A. You can work around the edge of a curve in the same way, just bear in mind to balance the length and height of the stitches, without the horizontal stitch getting too long. If you find the stitches are looking a little uneven, tease the strand to the front or back of the work slightly to even it out. You may want to use a slightly thinner yarn for blanket stitch as it can look too heavy if in the same stitch as the main, and this is where embroidery thread is handy, as not only does it come in every colour imaginable, as well as metallic or multicoloured threads, you can adjust the ‘thickness’ of its appearance by choosing how many threads to use, obviously fewer would be thinner. It’s wise to test a sample of your blanket stitched item in the wash if you’re concerned about colours running. If you have used a different thread for blanket stitch, it may not have the same properties as the main project yarn. Check the ball bands for care instructions, and good-quality embroidery threads should also include a care guide.


_268_268_c1.png)
_268_268_c1.png)


 Kntting Video")


 Kntting Video")
