

Deputy editor Adrienne teams up with crochet guru Helen Jordan to bring you a step-by-step guide to broomstick crochet. This technique was originally worked using an actual broom handle! Nowadays it is more common to use a large knitting needle instead to create the large loops which make up the distinctive broomstick pattern.
First of all, you’ll need a crochet hook and a large knitting needle. In this example, we have used a 5.5mm hook to suit the chunky yarn and a 20mm needle. You’ll also need to know how to do a chain and a double crochet stitch.
We have based our tutorial on a shrug pattern, so begin having already worked a row of double crochet. You need to make a chain that is a multiple of three stitches, plus one. In this example, we have made 16 chains. After our double crochet row, we are left with 15 stitches over which to work the pattern. You can also work into a foundation chain in the same way, but you will need an exact multiple of three stitches. In this pattern, making the loops is counted as one row and taking them off in groups of three is counted as the second row. Together, these two rows create one row of broomstick loops.
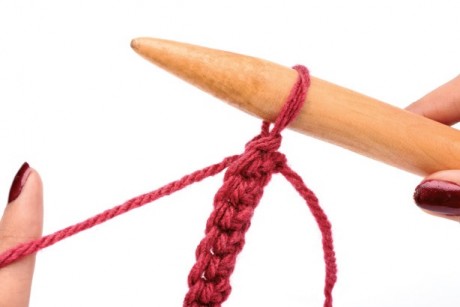
The pick up row
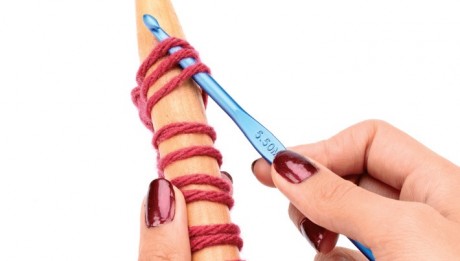
Step 1: Stretch the loop on the hook and place it on the knitting needle, easing it until it fits snugly but not tightly on the needle.
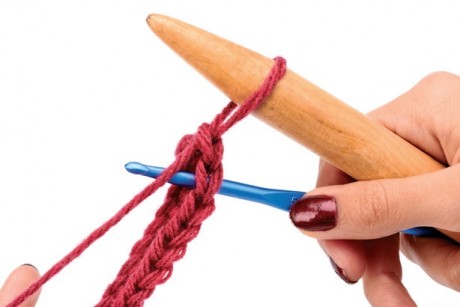
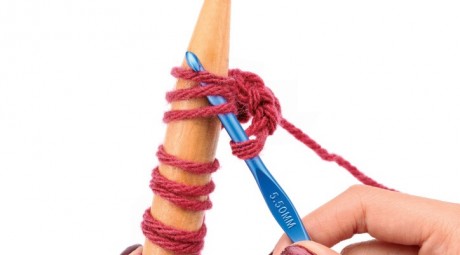
Step 2: * Insert the hook under both strands of the top of the double crochet stitch, wrap the yarn over the hook and pull it through, stretch the loop and place it on the knitting needle, repeat from * to the end of the row.
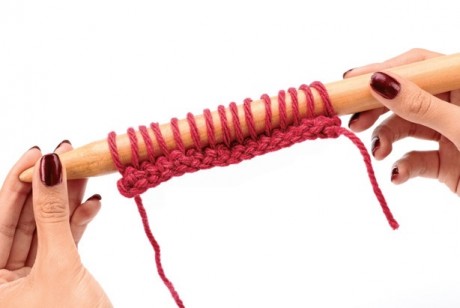
All your loops should now be on the knitting needle:
The take off row
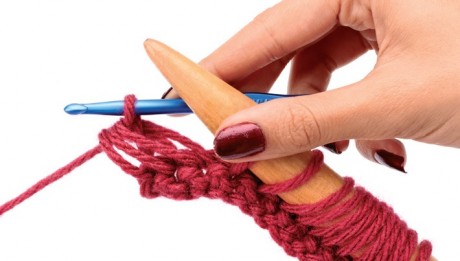
Step 1: Rotate the knitting needle so that top of the loops are facing upwards, insert the hook through the first three loops pointing the hook towards the point of the needle.
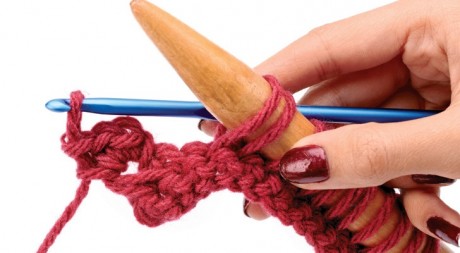
Step 2: Slide the loops on to the hook, making sure the rest of the loops stay on the needle, wrap the yarn around the hook and pull through all three loops to group them together.
Step 3: Make one chain then work three dc through the centre of the group of loops.
Step 4: * Insert the hook through the next group of three loops on the needle, slide the loops on to the hook, wrap the yarn around the hook and pull through all three loops [two loops on the hook], complete a dc, then work two more dc through the centre of the group of loops, repeat from * to the end of the row.
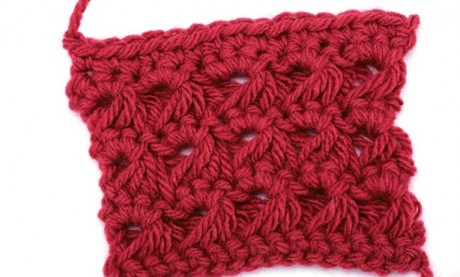
Continue to repeat the pick up row followed by the take off row as the pattern dictates. Here’s how it looks after a few rows:
Top tips!
Don’t get in a tangle! Follow these handy hints to help you master the art of broomstick crochet:
- Try not to juggle everything at once! The chunky knitting needle or broomstick can be quite heavy so lay it on the table or in your lap. This leaves you with two free hands to work with the yarn and hook.
- You may find it easier to hold the hook slightly differently, especially if you’re more of a knitter than a crocheter. Experiment with different positions until you find the one that works best for you. There’s no right or wrong way of doing it!
- Try holding the three loops together when you crochet through the centre – this means you are more likely to catch all the strands.
- Keep your loops even in size when you place them on the broomstick or knitting needle and be careful not to stretch them as you slide them off the needle.
- Adjusting the size of your knitting needle affects the size of your loops, and therefore impacts on the size of the hole. Have a go with different sizes and see what different effects you can create!
Now you’ve got the basic techniques down, why not try making our elegant shrug pattern by Virginia Coppins? You can download it FREE here!


_333_180_c1.png)
 Baby
Baby
 Toys
Toys
 Garments
 Crochet
 Homewares
 Dolls
Dolls
Share