

From Sue Stratford to Amanda Berry, We caught up with some of our favourite toy designers to find out their best advice for knitting toys this Christmas season!
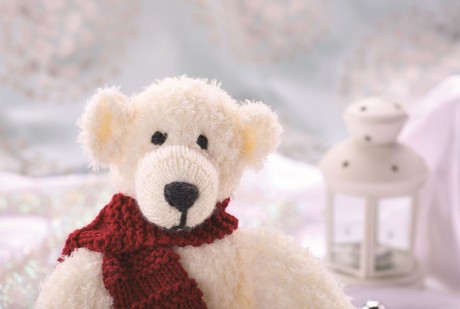
Get the pattern for Leonard in the December issue of Let’s Knit, on sale until 23rd December 2014!
Val Pierce
Believe it or not when I first started designing, toy making was the thing I hated most because of all the little bits and pieces! However the more I began to make the more I loved it. I have such fun with them, giving each character a special look on their face. Facial features are the most difficult to achieve and take a lot of practice.
Sometimes I start knitting many times before getting it the way I want it. When I decide on a toy I have to think whether it will be true to life or a comic likeness - and also what age range it will be aimed at. Then I have to think about the actual pattern that will need to be written for others to follow. If I made a zebra with intarsia stripes it would be a very time consuming process and only experienced knitters would be able to make it. So if I decided to make a zebra it would have to fall in the comic likeness range!
Val’s Top Tip:
Sew up your toy as you would a garment, making sure all seams are very secure. When stuffing it, look at the picture provided and try to get the shape to match. Over or under stuffing will make all the difference to the finished project.
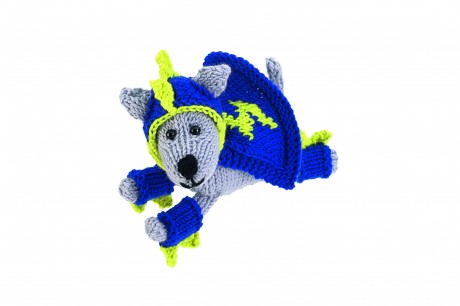
Knit Sue Stratford’s Danger Dog when you purchase her latest book, Knitted Dogs and Puppies! (Search Press)
Sue Stratford
I must admit I never saw myself as a novelty knitter but I do seem able to look at a ball of wool and see a chicken! When I first opened The Knitting Hut I started designing things for yarn that wasn’t selling to try to add a bit of value to it. I soon found that I really enjoyed the process. Instead of designing just for the less popular yarns, I was inspired by new ones as well. I designed a little mouse with some leftover yarn and made him into a kit for The Knitting and Stitching Show at Ally Pally. The mice sold so well that I ran out of the discontinued yarn I had used! Thanks to a friend of mine who knitted the mouse in Angora, I changed the kit to two angora mice in Christmas stockings. This is one of the things that Search Press spotted on my stand before asking me to write a book.
I love to use unusual yarns that you wouldn’t necessarily think of for a toy and I think it adds so much to the design. The process is quite well organised (for me). I start with a sketch, knitted swatches and then start knitting and re-knitting until it looks exactly how I want it to. I use a lined A4 notebook for my pattern writing and I always start on the right-hand side of the right-hand page in a column and then work left. I’m not sure why but it does seem to work for me!
Sue’s Top Tip:
One way to customise safety eyes is to paint them with metallic nail polish on the backs. This really helps the eyes shine out, especially if you are using them on a dark yarn.
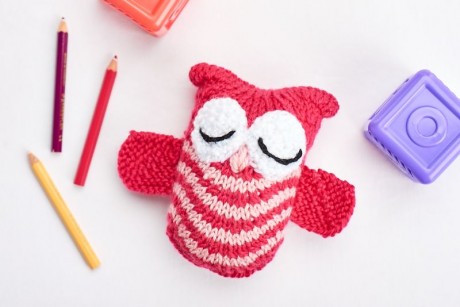
Get the yarn and pattern for Amanda Berry’s Olive Owl FREE with your next issue of Let’s Knit, on sale from 24th December 2014!
Amanda Berry
Translating a character into a knitted toy can be interesting. I start with a sketch - I doodle cartoon animals and then translate that into the finished design. Sometimes it works! I try to pick out maybe two or three elements of the animal that define it. A robin has a red tummy and little yellow legs for example, so if you added those elements to a 3D shape, it should look like a robin.
If you were designing your first ever toy, the easiest way to start is to make something flat, like a fish, where you have two sides that you sew together around the edges. Draw the shape of the toy on knitter’s graph paper, and work out from there how many stitches and rows you need, and where to increase and decrease. 3D shapes like spheres or cylinders get a bit more tricky, but if you knit a cylindrical shape, add some stuffing and sew on some big eyes, you almost have an owl!
Be patient when sewing toys together; after all that hard work, you don’t want to ruin your toy with poor seams. Take your time, and have plenty of cups of tea to hand!
Amanda’s Top Tip:
I have a dollmaking sewing needle, which is really long, and handy for adding arms and legs, as you can sew straight through the body to make the limbs jointed.
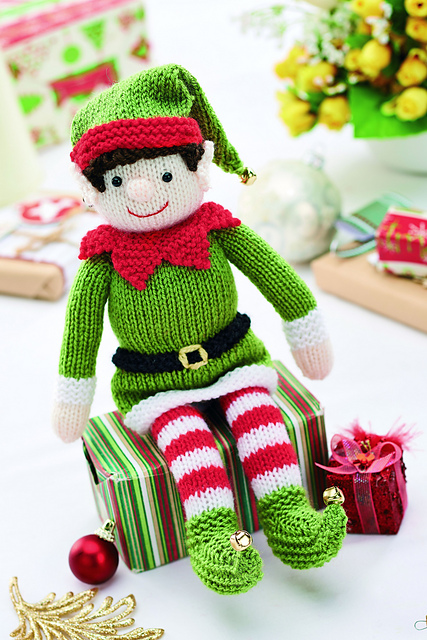
Download the FREE pattern for Bernard the elf by Zoe Halstead here.
Zoe Halstead
I used to make a lot of toys when I was a child, both knitted and sewn, but I only really got into designing toys when I wrote my first book in 2006, Knitted & Felted Toys. My inspiration has often come from my two sons and the characters and toys that they are into, but it can come from anywhere. I like them to be full of character!
I really enjoy the making up process; seeing the pieces come together and working on the face or features. This is when the character comes out and, hopefully, matches up with my original idea!
Zoë’s Top Tip:
There can sometimes be lots of knitted pieces, some of which can look very similar to each other! Label each piece as you knit it to help with making up. Spend lots of time finishing off the toy as this will make a huge difference to how it looks.
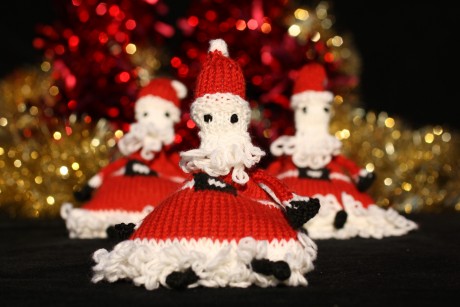
Buy the juggling Santas knitting kit for £17.95 from The Little Knitting Company
Ruth Chester
When I was about seven or eight I knitted a panda from a pattern shown on Blue Peter. It was knitted in garter stitch and I nagged my granny to help me for days. Now at The Little Knitting Company, we love designing small and accessible projects; our six and eight inch long knitting needles are perfect for these.
The best thing about toys is that they are small and tactile. For a beginner there is a real sense of achievement, and the joy they can bring to children is a huge reward. Creating faces is always such fun; the difference the placement of a stitch makes is amazing. The inspiration for our Juggling Santas kit came from a childhood soft toy, and I asked popular knitwear designer Siân Brown to help.
Ruth’s Top Tip:
Take your time, read the pattern, don’t over-think it. Sometimes instructions don’t appear to make sense but when you follow them, the penny drops. We often recommend a firm or cable cast on for small pieces as this adds stability.
Cast on Klaus by Susie Johns tonight - the pattern is completely free on our site!
Susie Johns
I began making toys when my own children were small. My first efforts were a Postman Pat, then a mermaid with a sparkly fishtail. I spent 12 years making models from paper, card and papier maché for the children’s magazine Art Attack. The experience has proved invaluable when trying to work out how to shape the head and neck of a knitted pheasant, for example, or deciding the best way to construct a frog’s eyes!
If you are used to knitting jumpers or scarves, you will find that knitting toys needs a different approach. Knitting a number of different pieces for a toy is pretty straightforward. The bigger challenge comes when you join the pieces together. You will need to allow extra time for making up: stitching small pieces of knitted fabric together and stuffing them requires a degree of patience and dexterity, not to mention neat stitching on the seams – but it’s worth it when you see the finished result.
Susie’s Top Tip:
Take time to read through the pattern instructions before you begin, to make sure you understand what skills are required.
Do you have any toymaking tips of your own? Let us know in the comments!


_333_180_c1.png)
 Baby
Baby
 Toys
Toys
 Garments
 Crochet
 Homewares
 Dolls
Dolls
Share