

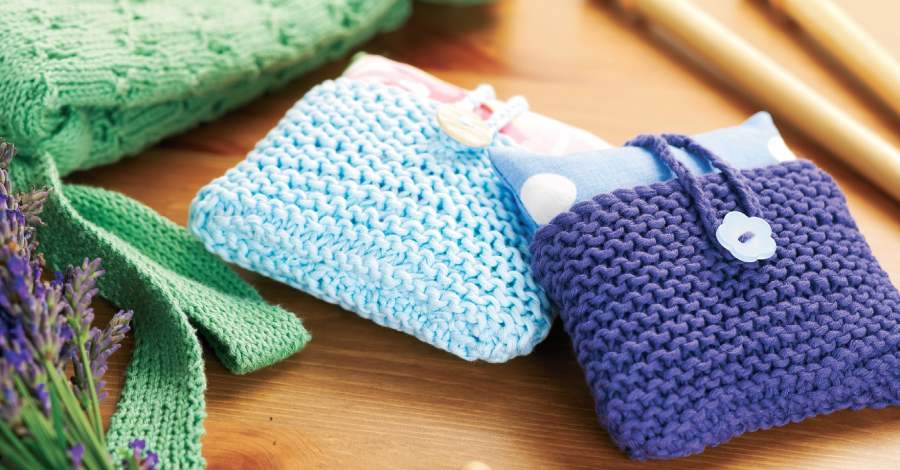
Welcome to the Let’s Knit school of knitting! With the arrival of our new website and our smashing new blog, we thought it would be a great opportunity to pass on our knowledge with a regular tutorial series. As this is the first tutorial blog, we thought we’d go back to the beginning. So, grab your needles and yarn and let us help you get started!
Getting Started
In this handy guide, we will take you through your bread-and-butter stitches and get you on your way to becoming a knitter extraordinaire.
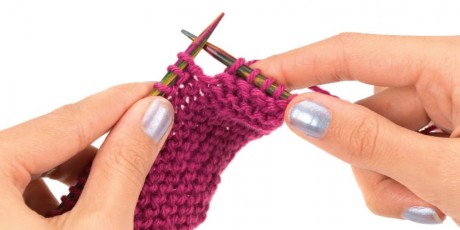
Holding the needles
There is no right or wrong way to do this, and don’t let anyone tell you otherwise. You will often see people gripping the needles from above:
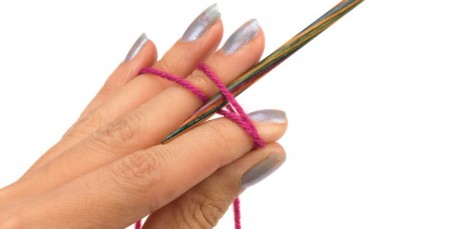
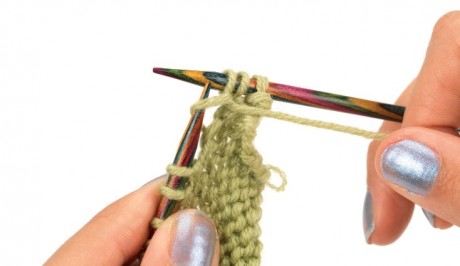
or holding them more like a pencil and resting the needle between the thumb and forefinger:
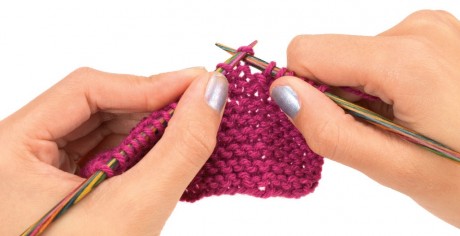
Find a way that is comfortable for you.
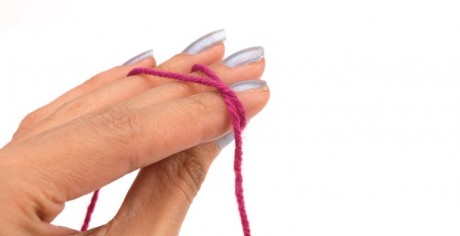
Making a slip knot
Whether you are knitting or crocheting, the first step is always to make a slip knot. There are lots
of ways of doing this, but we like this one.
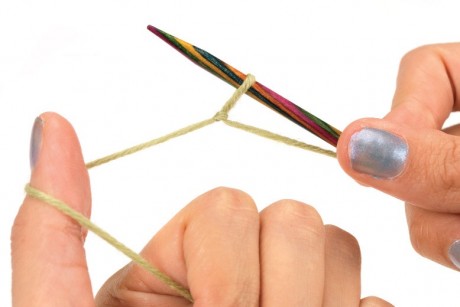
Step 1: wrap the yarn around your fingers twice overlapping the strands as shown
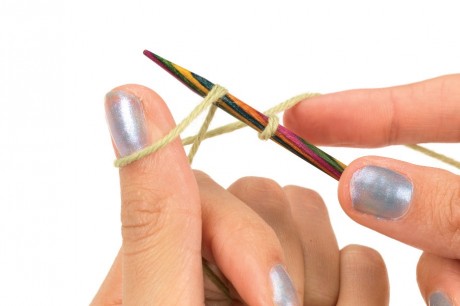
Step 2: insert needle under the front loop and hook the back loop with the needle.
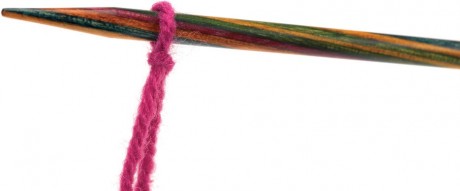
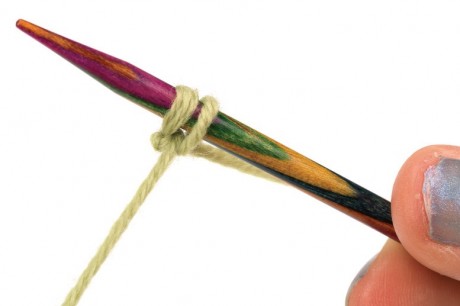
Step 3: Pull this strand under the front loop and off the fingers then pull to tighten
Casting on
There are many different cast-on methods and each serves a different purpose. The Two-needle method and Thumb method are the two most common. Always count your slip knot as your first stitch
Two-needle method
This technique gives a neat, firm edge and looks great with stocking stitch. Make the
slip knot near the end of your yarn, leaving a tail approx 10-15cm long.
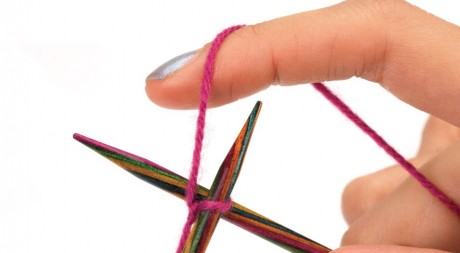
Step 1: hold the slip knot on one needle (this is your LH needle) and insert your other needle (your RH needle) through the front of the stitch, and wrap your yarn around the tip of the RH needle.
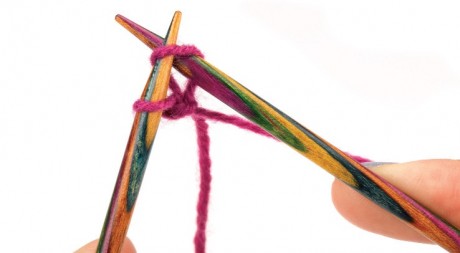
Step 2: hook the wrapped yarn and pull it through the slip knot, now place this loop onto the end of the LH needle. This is your first cast on stitch! Keep doing this until you have cast on the right number of stitches.
Thumb method (also known as a Long tail cast on)
This produces a stretchier edge so is better for cuffs and rib work. It only involves one needle and you need to make the slip knot leaving a long enough tail to cast on all your stitches. We recommend 2cm per stitch. For example, if you need to cast on 20 stitches, make the slip knot 40cm along the yarn.
Step 1: wrap the tail of yarn around your thumb
Step 2: insert the needle through this loop, then wrap the yarn from the ball around the tip of the needle
Step 3: place the loop onto the end of the needle and pull it tight. You have just cast on a stitch! Repeat this until you have the correct number of stitches. This will then be your LH needle.
Knit stitch
This is the most important stitch. If you have used the Two-needle cast on method you are very near to completing a knit stitch. A fabric made from all knit stitches is called garter stitch. Here’s how it’s done:
Step 1: insert your RH needle through the centre of the stitch on the LH needle from left to right
Step 2: wrap the yarn from the ball around the tip of the RH needle
Step 3: with the RH needle hook the wrapped yarn and pull it through the stitch on the LH needle, slide the stitch off the LH needle and leave the new loop on the RH needle. This is your first knit stitch.
Purl stitch
To produce stocking stitch, which is the fabric that has lots of little ‘v’ shapes, you will need another stitch – the purl stitch. Stocking stitch alternates between one row of knit stitches and one row of purls. Here’s how you do a purl stitch:
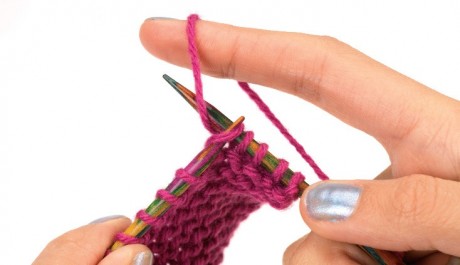
Step 1: insert the RH needle into the next st on the LH needle from right to left as shown
Step 2: wrap the yarn from the ball around the tip of the RH needle
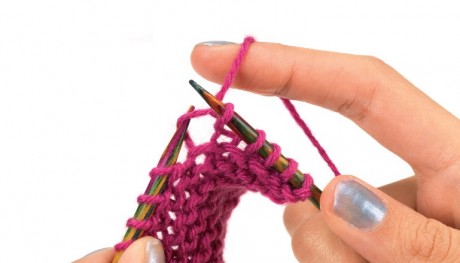
Step 3: use the RH needle to hook the wrapped yarn and take it back through the stitch on the LH needle. Slide the stitch off the LH needle and leave it on the RH needle. This is a purl stitch.
Casting off
When you want to finish knitting you need to cast off. We’ve used a garter stitch swatch but this method will be the same on the knit row of a stocking stitch pattern.
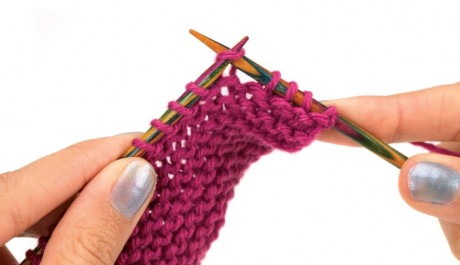
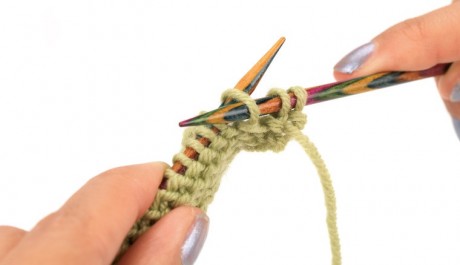
Step 1: knit two stitches as shown before, then insert the LH needle into the first stitch you knitted

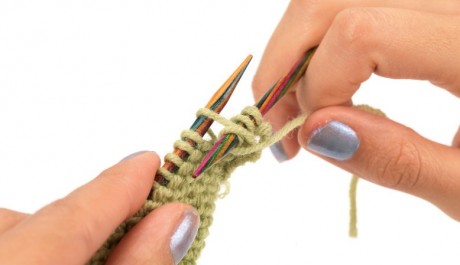
Step 2: with the LH needle, lift this stitch over the second stitch worked, and off the end of the RH needle. One stitch has been cast off. Repeat this along the row. When you reach the end of the row, just cut the yarn leaving a tail, and thread this tail through the last stitch on the needle.

Our knitting tutorials will cover a wide range of techniques from beginner to advanced, and also the unusual. Be sure to check back for future tutorials here on our blog and don’t forget we have a whole host of videos and tutorials already on www.letsknit.co.uk


_333_180_c1.png)
 Baby
Baby
 Toys
Toys
 Garments
 Crochet
 Homewares
 Dolls
Dolls
Share