


How to: work straight stitch
video by
Let's Knit Together
- Overview
- Practical Guides
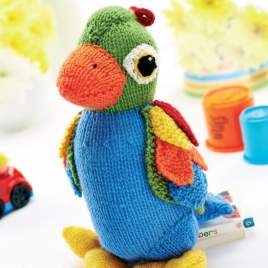
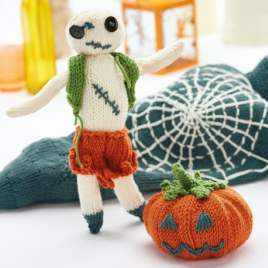
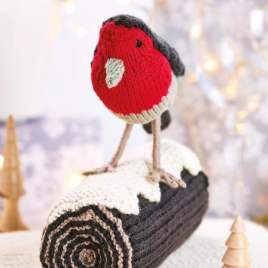
Here’s an easy embroidery stitch for your repertoire and one that you’ll use time and again, especially if you like to knit toys or add surface decoration. Just a few stitches can make all the difference!
Avoid making your straight stitches longer than a couple of centimetres, unless they are pulled taut or anchored with a small extra stitch along the length.
Straight stitches are very versatile and, as with all embroidery stitches, should lie flush to the surface, however, if you make them too long they will be too loose across the surface. First plan how to intend to work your stitches and use a length of yarn or embroidery thread in a tapestry needle. If part of a face, it pays to work out your design in straight stitches on a scrap of fabric or felt first, being efficient with your yarn. When you’re ready, and with an optimum length of around 20cm in your tapestry needle, fasten off the yarn on the wrong side with a knot or a yarn tail to weave in. Bring up the needle at one end of your straight stitch and back down to the wrong side at the other end. Cut the thread and weave in or knot on the wrong side to secure firmly, or continue with another stitch. Your design may need you to bring up the needle again very close to the first stitch, for example to make a zigzag or uneven parallel lines for hair, but for a stitch more than a couple centimetres away, weave the needle through a couple of stitches at the back to minimise any floats. These can cause your straight stitches to sag if the item is squished about a lot, or if on the wrong side of an accessory, the strands could snag fingers. If you want to create a longer straight stitch, or even one that is slightly shaped, first make you long straight stitch, then working from back to front, add a couple of small anchoring stitches over the strand to hold it in shape and close to the surface.


 Kntting Video")


 Kntting Video")
