


How to: attach safety eyes
video by
Let's Knit Together
- Overview
- Practical Guides
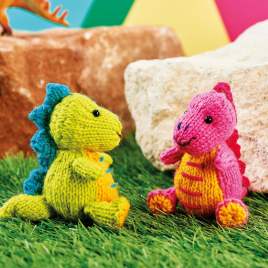
When you’re making toys for small children, remember that buttons may come off, so embroidery, or safety eyes, are more appropriate. If you’ve not sure how to attach safety eyes, you’ll find this step-by-step very useful.
Any toy made for a child under three shouldn’t have any embellishments or loose parts that could end up as a choking hazard, which also means sewing on arms and legs securely if that child is still at that age where everything goes in their mouth!
"Safety eyes are made up of two parts: the eye with a post and the backing post which can either be made from plastic or metal. The ridges means they are less likely to loosen due to the design backing and the grippers make the eye less likely to pull off. Only attach safety eyes to tightly knitted fabrics or add extra backing fabric to make them harder to remove. Firstly, you’ll need to decide where you want the safety eyes to go, do this before sewing up. Use the rows in your knitting and count stitches for even spacing. Remember, it’s fine to split the yarn rather than go through a ready-made hole. Insert the post front to back, then press on the back, ensuring the grippers face the fabric. Check that it is secure. If you make a mistake it can be quite hard to get off, so you’ll need to cut through the backing with pliers or cut off the front without damaging fabric. Once you’ve mastered this skill, it’s a great technique to use time and time again for eyes or a button effect."


 Kntting Video")


 Kntting Video")
