


Crochet is one of the hottest crafts around at the moment, and it’s easy to see why: from quick projects to endearing toys full of character, it’s an addictive hobby that is perfect for busting your stash and for when you want to make something on the go. We’re on hand to show you just how easy it is to get started in the world of crochet. You’ll be hooked in no time!
1. Holding the hook
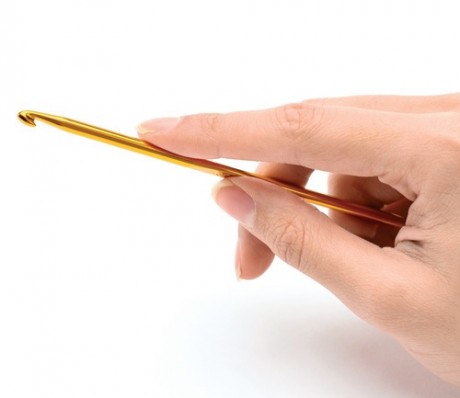
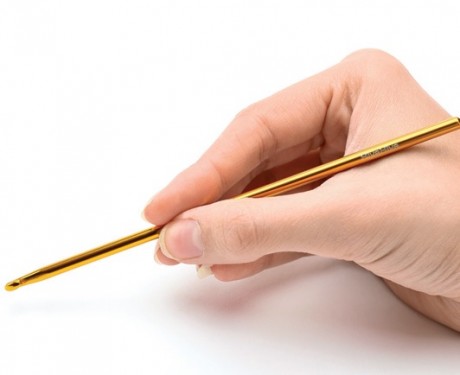
There are two common ways to hold a crochet hook: like a knife or like a pen. The hook is usually held in the right hand, with the yarn in the left hand. However, there is no wrong way to do it; if you find a different way that gives you the same results, feel free to use it.
Like a knife:
Like a pen:
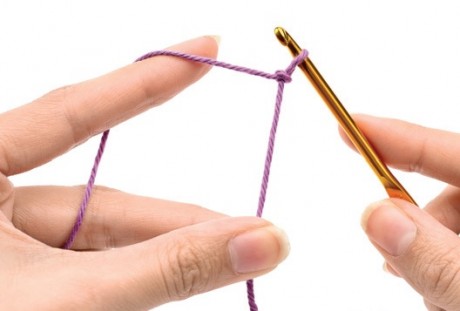
2. Holding the yarn
Again, there is no single correct way to do this. Here is one method of tensioning the yarn.
Step 1: take the yarn between your ring finger and little finger
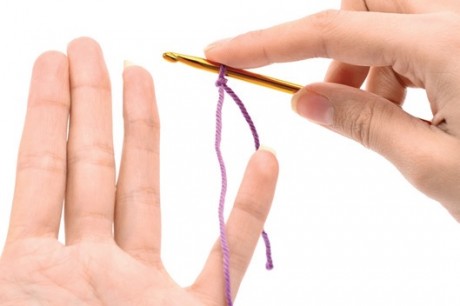
Step 2: wrap the yarn around your little finger and take it between your index and middle finger
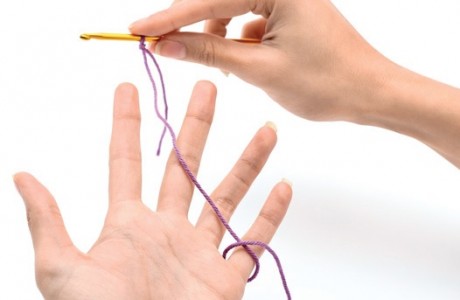
Step 3: bring the yarn in front of your index finger to tension it, and grip the work with your thumb and middle finger.
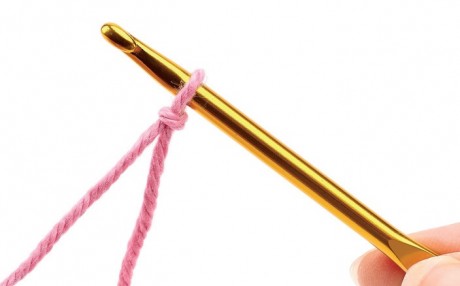
3. Foundation chain
This forms the base of most crochet projects and will get you used to the movement of wrapping the yarn around the hook.
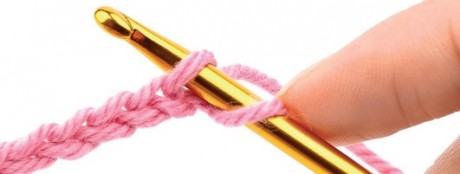
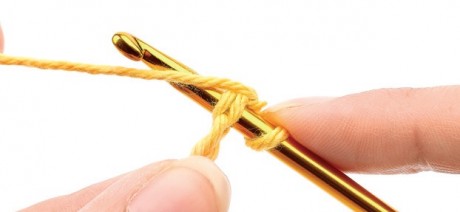
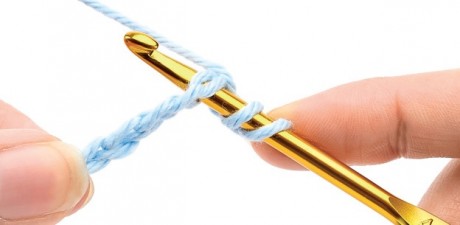
Step 1: make a slip knot and place it on the hook
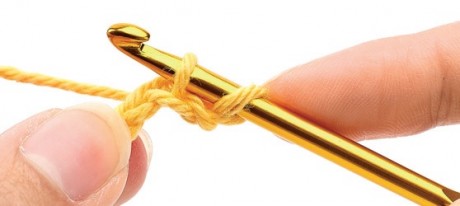
Step 2: tensioning the yarn as shown above, wrap the yarn around the hook from back to front (yoh)

Step 3: pull the hook through the slip knot, catching the yarn. You will have one loop on your hook. This is one chain stitch (ch)
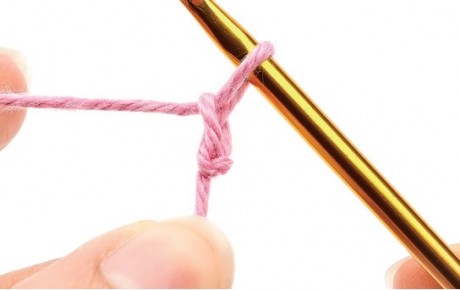
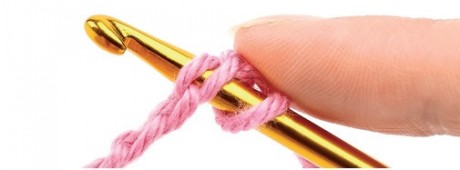
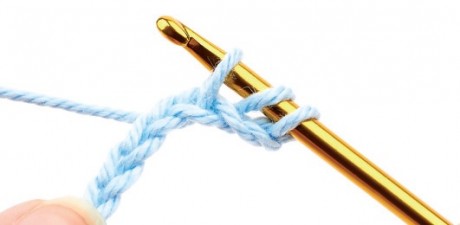
Repeat Steps 2 and 3 to make more chain stitches – do not count the loop on your hook as a stitch
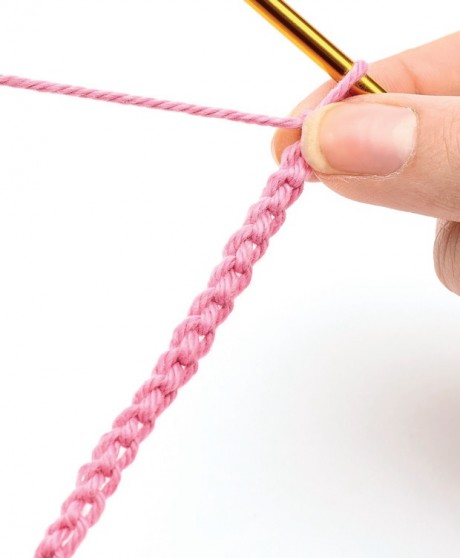
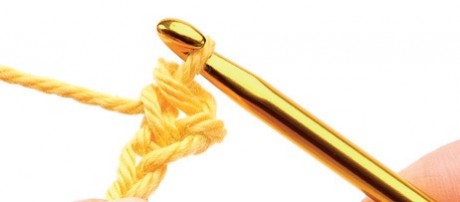
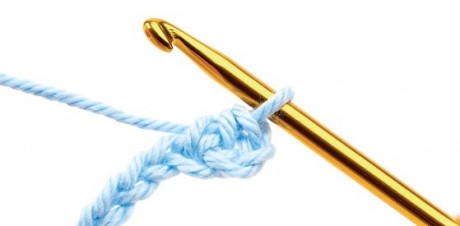
Finished chain: see how there a little ‘v’ shapes – one ‘v’ is one chain stitch. When looked at from above, you can see the two ‘legs’ of each ‘v’. This is the front and back loop of the stitch

Back ridge: the back of each stitch has a little bump, this is called the back ridge
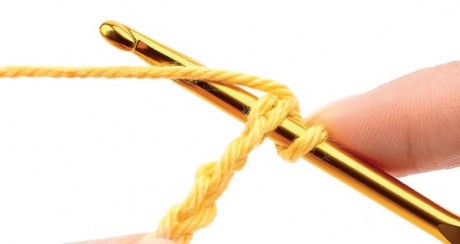
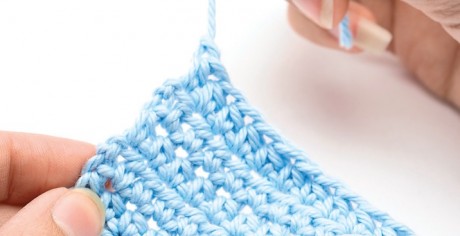
4. Working into the foundation chain
There are several ways of working into the foundation chain. Which you use is up to you:
—Back loop—
This is the quickest and simplest method, but can leave gaps if you have loose stitches.
How to do it: insert your hook into the centre of each chain stitch
—Back loop and back ridge—
This is an easy method, which gives a neat, strong edge.
How to do it: insert your hook into the centre of each chain stitch, making sure the hook passes underneath the back ridge, then complete the stitch
—Back ridge—
This method means the top and bottom edges of your piece will look the same.
How to do it: twist the chain so you can see the back ridge, and insert your hook into the back ridge, then complete the stitch

—Front and back loops—
This is the traditional way to work into a foundation chain.
How to do it: insert your hook underneath the front and back loops, then complete the stitch. Use this method for working into the stitches on all following rows, unless instructed otherwise

5. Slip stitch (sl st)
This is a travelling stitch, which can be used for shaping. It is also useful for joining in yarn.
Step 1: insert hook into stitch or chain and wrap the yarn around the hook
Step 2: pull yarn through stitch and through loop that is already on your hook

Slip stitch edge:
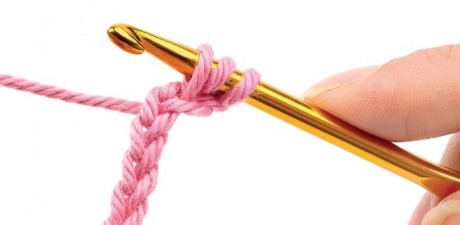
6. Double crochet (dc)
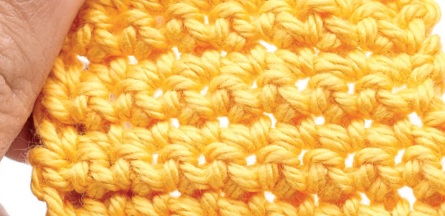
This is one of the easiest stitches to work and is used a lot in making crochet toys.
Step 1: insert hook into stitch or chain and wrap the yarn around the hook
Step 2: pull yarn through stitch, so you have two loops on your hook
Step 3: yoh and pull through both loops
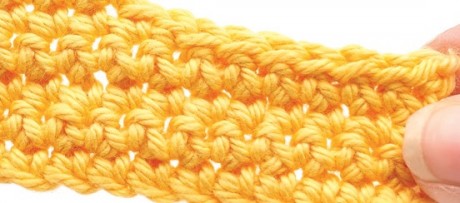
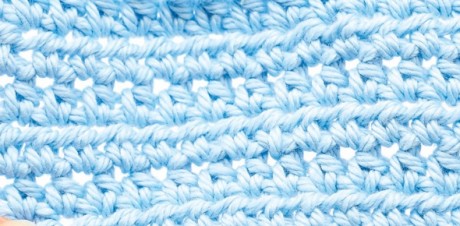
Finished fabric
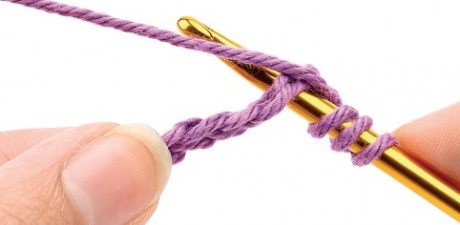
7. Half-treble crochet (htr)
This is a slightly taller stitch than double crochet.
Step 1: yoh, then insert hook into stitch
Step 2: yoh, then pull yarn through stitch so there are three loops
Step 3: yoh and pull through all three loops
Finished fabric:
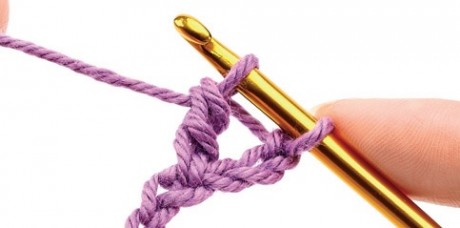
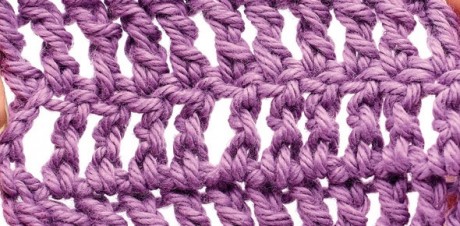
8. Treble crochet (tr)
An even taller stitch, this creates a slightly openwork fabric.
Steps 1-2: work as for a half treble stitch
Step 3: yoh and pull it through first two loops only

Step 4: yoh and pull it through last two loops on your hook

Finished fabric:

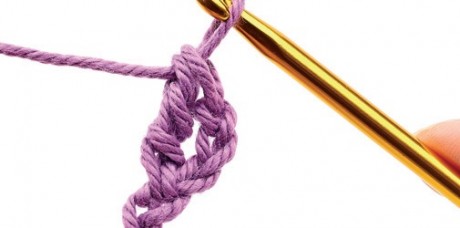
9. Double treble (dtr)
Worked in a similar way to a treble crochet, this stitch makes tall, open stitches.
Step 1: yoh twice, then insert hook into stitch
Step 2: yoh, then pull yarn through stitch so there are four loops on your hook

Steps 3-4: work as for Step 3 of treble stitch
Step 5: work as for Step 4 of treble stitch
Even taller stitches can be worked by wrapping the yarn around the hook even more times before inserting the hook into the stitch.
Finished fabric:
10. Fastening off
To finish your work, simply cut the yarn leaving a tail, wrap the yarn around the hook, then pull it all the way through the loop.
11. Turning chains
When working back and forth in rows, you will need to work a chain or number of chains before starting the next row. This is called a turning chain. The taller the stitch, the more chains you need; for example, a double crochet needs just one chain to enable you to comfortably turn the work and start the next row. A very tall stitch like a double treble crochet will need four stitches to get you to the correct height. Your pattern will tell you if these chains count as a stitch. If this is the case, work into the last chain in this group at the end of the next row.
Are you hooked on crochet? Share your makes with us over on our Facebook and Twitter pages!
_333_180_c1.png)


 Baby
Baby
 Toys
Toys
 Garments
 Crochet
 Homewares
 Dolls
Dolls

Share