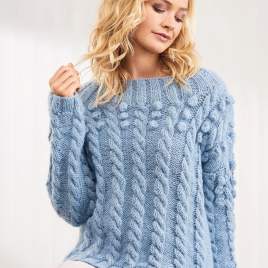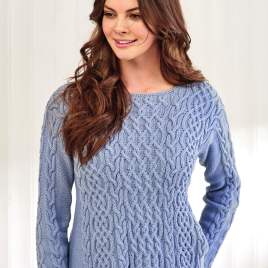


How to: work cables (C4F/C4B)
video by
Let's Knit Together
- Overview
- Practical Guides
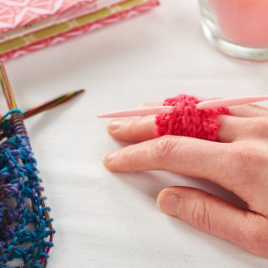
To knit a cable, you'll temporarily hold a specified number of stitches at the front (F) or back (B) of your knitting, while you work others – the method is the same. This swaps the order and creates the twist effect.
A twist to the right holds the cable needle at the back, so you can be ‘right back’, while a twist to the left holds the cable needle at the front, to sit ‘left front’!
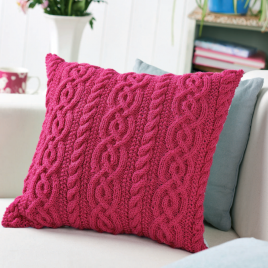
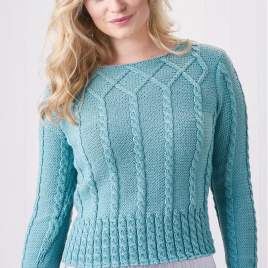
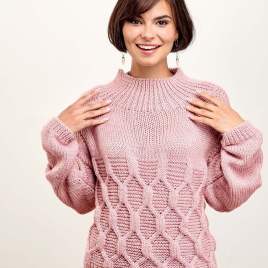
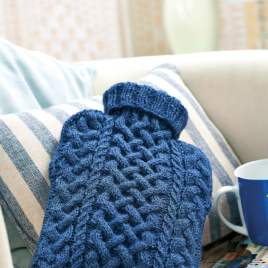
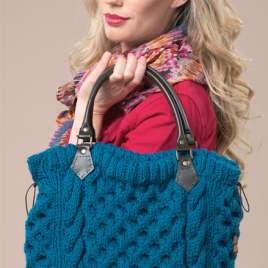
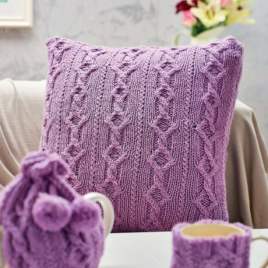
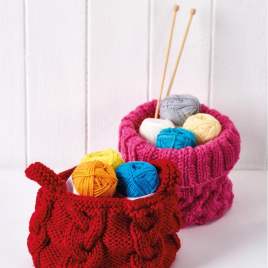
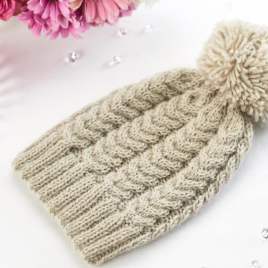
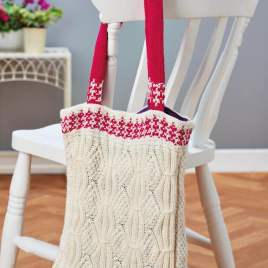
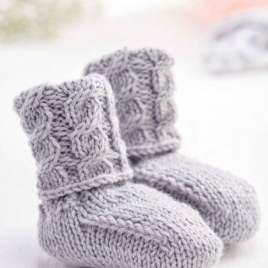
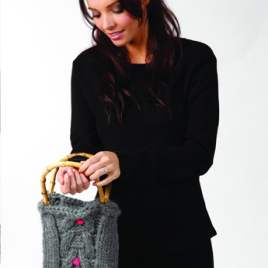
For the entrancing cable effect, knit stitches are worked in columns against a background of purl stitches to create a lovely raised effect with the added interest of rope-like twists, that can be tightly together or just a single dramatic twist. It’s key to move your yarn between the needle tips when changing between purl and knit stitches, otherwise your stitches will be wrong. These columns can be made to turn to the right or the left by the position of the cable needle, which is a short double-pointed needle with a kink used to hold some of the knit stitches. Make sure your cable needle is close in size to your straight needles. You’ll let the cable needle dangle at the front or back of your work as you jump to the next stitches on your straight needles. To get the unused stitches back, the cable needle temporarily becomes your left-hand needle, and when it’s empty you’ll carry on with the stitches your straight needles again. It’s a straightforward process used to swap the order of stitches and create the twist effect, but may seem to need extra fingers and thumbs to start, so practise this technique with some scrap yarn and the short pattern below before you need to use it in a project. If you don’t have a cable needle or find this too fiddly, you can use a short stitch holder or other DPN instead, but place the held stitches back onto your left-hand needle to knit. Always look for the special abbreviations that will tell you how many stitches to transfer to the cable needle, usually half of the number in the cable column. Practice Start with woolly DK and 4.5mm needles, as well as your cable (or other spare) needle. Follow the sample cable pattern below for a right-leaning C4F, followed a few rows after by a left-leaning C4B. In this sample, always work the cable stitches on an even-numbered row. Special abbreviations C4F: slip two needles onto a cable needle, hold at front of work, k2, k2 from cable needle C4B: slip two needles onto a cable needle, hold at back of work, k2, k2 from cable needle Cast on 12 stitches Row 1: k4, p4, k4. 12 sts Row 2: p4, k4, p4 Row 3: k4, p4, k4 Row 4: p4, k4, p4 Row 5: k4, p4, k4 Row 6 (C4F): p4, C4F, p4 Rows 7-9: rep Rows 3-5 Row 10 (C4B): p4, C4F, p4 Row 11-13: rep Rows 3-5