

How to: work purl stitch
video by
Let's Knit Together
- Overview
- Practical Guides
Purl stitch is an essential in knitting and is often alternated with knit stitch – together, these two easy stitches are the bedrock of most knitting patterns, so practise your purl in rhythmical rows to start with.
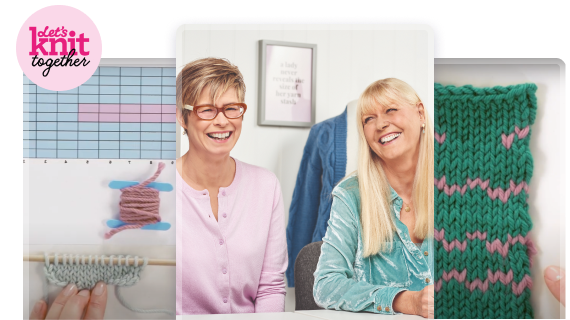
You can identify purl stitches by the horizontal ‘bump’ or U-shaped stitch under the loop on the needle.
A purl stitch creates a ‘bump’ when it is made, and remember to hold your working yarn at the front of your knitting, and when you wrap the yarn around the needle, the yarn comes to the front of your work again, ready to purl the next stitch. You’ll also see rows of purl stitches alternated with rows of knit stitches to form a stocking stitch fabric, with the purl rows usually on the wrong side, or back, the back of the fabric. When the purl side of a stocking stitch fabric is on the right side, this is called reverse stocking stitch. Purl stitches can be worked between knit stitches on the same row to create textural patterns and stitches on the right side, such as ribs and cables, to name but a few.

_268_268_64_c1.jpg)