How to: join edges with mattress stitch
video by
Let's Knit Together
- Overview
- Practical Guides
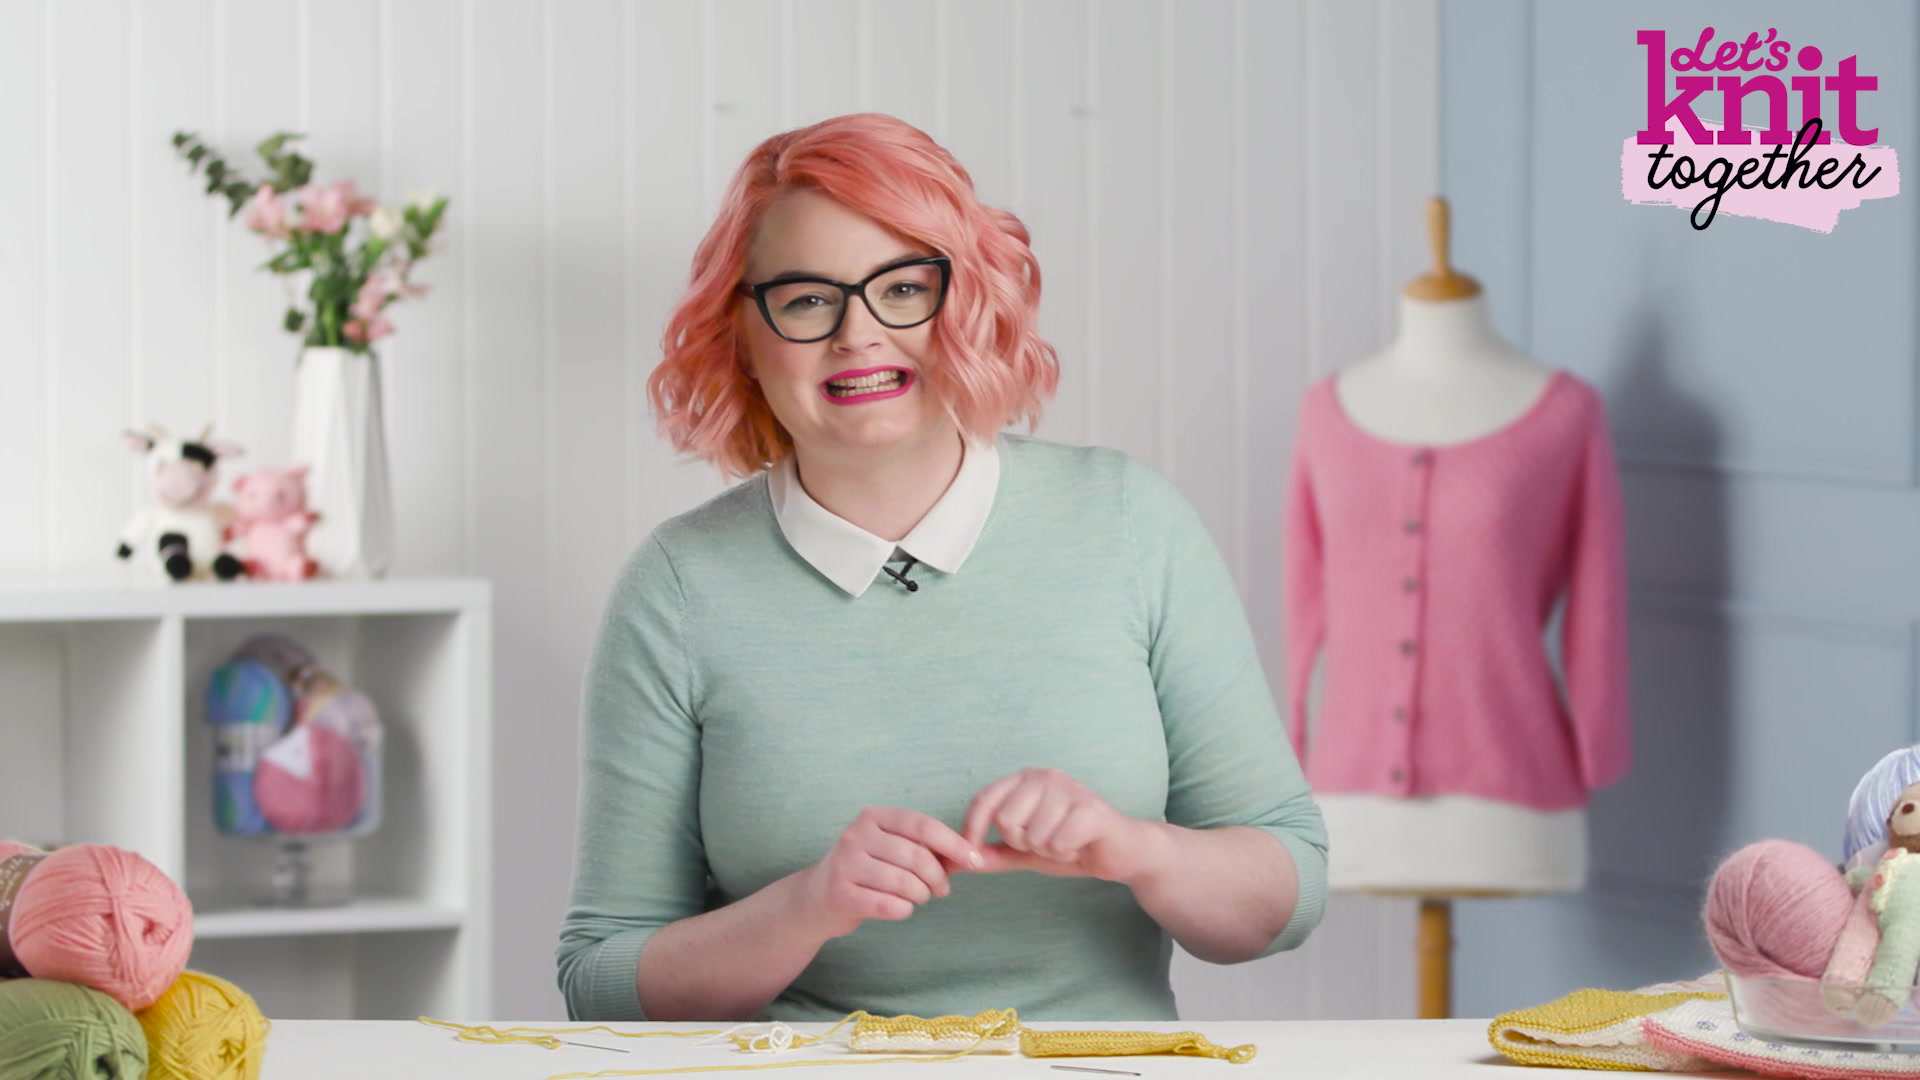
For an almost-invisible seam to join the edges of your stocking stitch pieces, mattress stitch is hard to beat. It works neatly between pairs of stitches and avoids creating a noticeable ridge on the right side.
For a compact seam, work half a stitch in from each edge, or if your end stitches are loose, you can work a whole stitch in.
The pieces to be joined need to be right side up, and when joining row ends ensure the cast-off edges are aligned. If you’re working a long seam or need to join a pattern, inserting long pins horizontally will help you to match up rows. Using several lengths of yarn is better than one very long strand, which might fray or weaken, so stick to around 45cm as a maximum length. Beginning and fastening off this seam with a figure-of eight in the adjacent corner stitches ensures the edges are secure and straight, for a neat finish to your seam. While working up the seam, pull the yarn gently to bring the two edges together every few stitches, then check the seam is neat. If it is puckering or looking gappy, pull it back and redo these few stitches – if you are working with different edges, you may have to work unevenly across the two pieces or pick up different parts of the stitch.


