

How to: make eyelets (yon)
video by
Let's Knit Together
- Overview
- Practical Guides
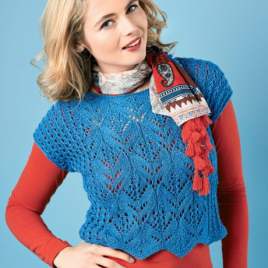
A yarn over needle (yon) is an eyelet worked between a purl stitch and a knit stitch, so you'll most often find this is within lace or textured patterns that switch between these stitches frequently.
When making the yarn over needle, the yarn should not go between the needle tips to switch from purl to knit stitches
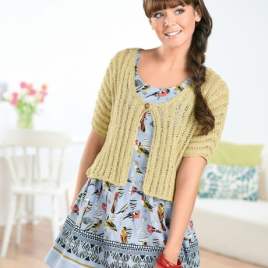
You may find yon (yarn over needle) called for in a pattern with a ribbed band that needs eyelets or small buttonholes, or a pretty lacy pattern. It’s a no-fuss way to make a small hole by adding an extra loop on the needle, which also increases the stitch count by one for each yon. You may also have to work decreases on the same row to keep the stitch count the same, unless the yon is used to increase the width of the piece. After a purl stitch and before the next knit stitch, take the yarn from front to back over the needle shaft, so it is in the right place. Insert the right-hand needle into the next stitch and wrap the yarn as usual to knit the stitch. The eyelet will be formed at the junction between the two different stitches, and will be completed when worked across on the next row. Some patterns use ‘yo’ as a catch all for creating eyelets, so take note of the stitches either side to be sure to work the right one. A ‘yo’ that is preceded by a knit stitch and followed by a purl stitch, is made the same way as a ‘yrn’.