

How to: work in the round (on DPNs)
video by
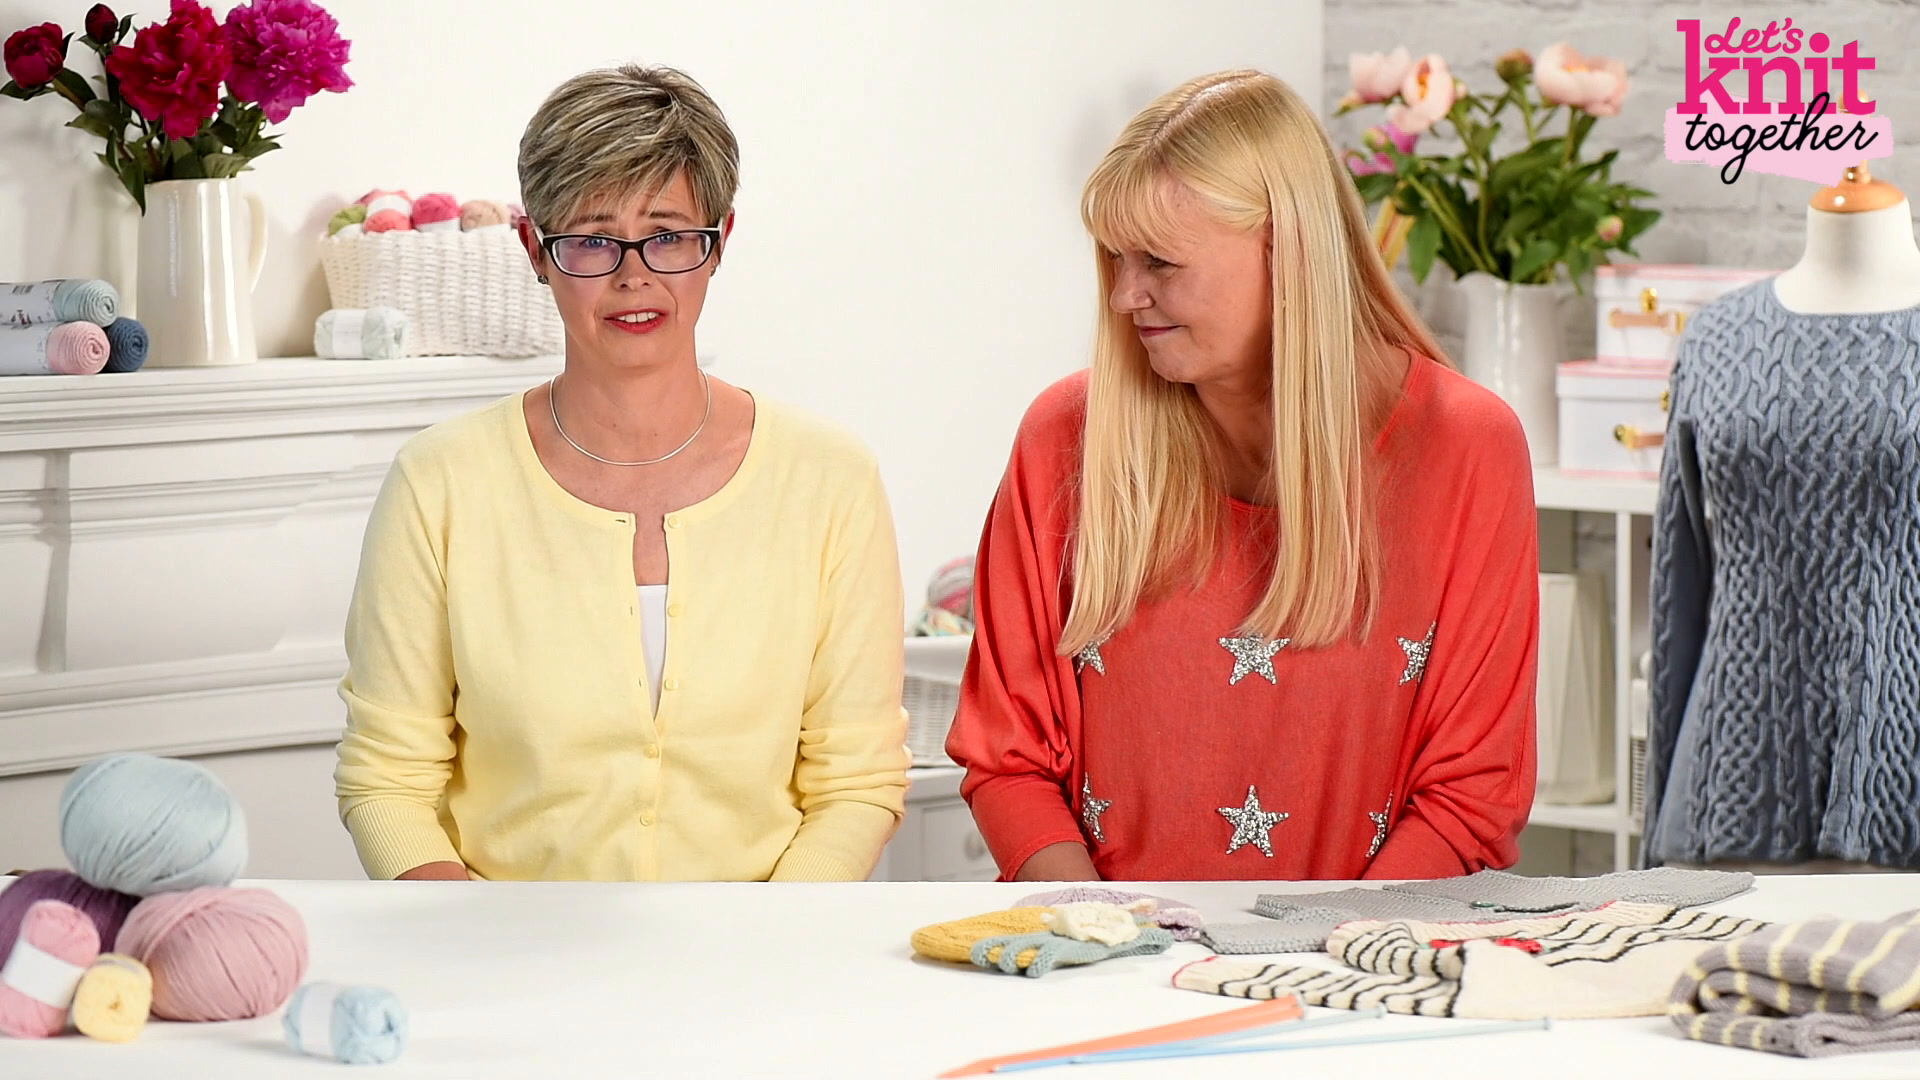
Let's Knit Together
- Overview
- Practical Guides
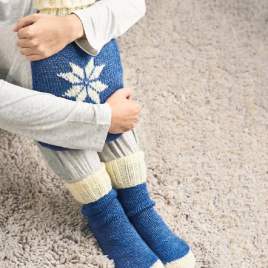
Socks, gloves and some toys can be knitted on sets of double-pointed needles, rather than circular needles, to form the essential tube, making this is a great technique to have under your belt.
Knitting in the round with DPNs takes a bit of getting used to as there are several needles to work around, but relax, take your time and find a comfortable way to keep the other holding needles out of the way with your other fingers.
Double-pointed needles (DPNs for short) are ideal for small circumferences, or even narrow pieces of flat knitting where regular needles are too long. To work in the round, you’ll need a set of four or five all the same size, and your pattern will recommend how many to use. Cast on the number of stitches as in your pattern, you may need to use more than one needle if it is a lot, then spread the stitches out evenly across the DPNs, keeping one empty to use as your right-hand needle. To follow the tutorial, cast on 46 stitches and divide them between three needles, with 16 stitches on the last needle with the working yarn. Make sure your stitches are not twisted before joining the round by laying the needles in a line, then pick up the needles. There are several ways you do this, but here is how to join the round by knitting two stitches together, where an extra stitch is cast on for this. With the first cast-on stitch on your left-hand needle and the last cast-on stitch on your right-hand needle (with the working yarn at the back), transfer the stitch on your right needle to the left one. Now, knit the first two stitches together (k2tog) on your left-hand needle tightly. You’ll be back to your correct number of stitches and have decreased the first and last stitches together, joining the round. To show the start of each round, put the stitch marker on the right-hand needle between the two stitches nearest the tip, and simply slip it across to the next needle each time it comes around. Make sure all of your stitches are safely centred on the DPNs, so that the needle can’t slide out Take an empty DPN, this will be your new right-hand needle. Slide the stitches on the left-hand needle up to the tip. Always knit the first stitch from a needle quite tightly to avoid laddering, then continue to knit all the stitches from your current left-hand needle onto your right-hand needle as usual. You may find it helpful at the start of a new needle to ease the nearest one away with your thumb until further along the row when there is more room to work. When the left-hand needle is empty, this becomes your new right-hand one. Continue to work around the needles and follow your pattern. It’s a good idea to move the point at which you change needles to avoid potential tracks in your work. This is done by transferring a couple of stitches from one end of each needle onto the next every few rounds. Cast off as normal, until you have emptied all of your needles. When you knit in the round, you don’t have to turn your work to create stocking stitch as the right side will be facing you. For garter stitch, however, you’ll have to work knit and purl rounds. Bear in mind that your tension on DPNs may be different to your knitting on straight needles, especially while you get used to this technique, so do swatches in the yarn on both needle types to get a steer on this as part of your project.