
Want access to over 2500+
knitting patterns?

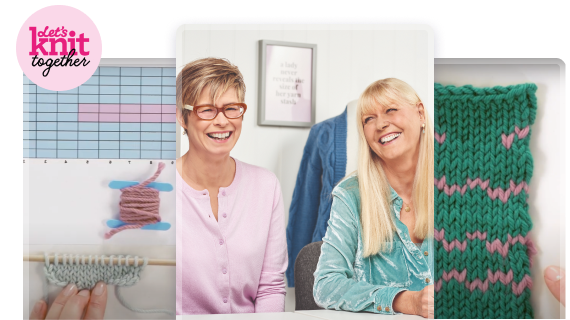
Knitting Videos for Beginners, Experts and Everyone In Between
Welcome to the Let’s Knit Together how-to hub.


-

Exclusive videos for every skill level
Easy-to-follow videos for knitters of all abilities
-

Access videos anytime, on any device
Learn at your own pace, in your own time on any device
-

New knitting videos added regularly
Make sure to check back for new videos
-

Learn techniques needed for specific patterns
No project is out of your reach, that's our promise to you!
Explore Your Knitting Videos
- New Videos
- Most Popular
- 5 Minute Masterclass
- Beginner
- Improvers
- Advanced
-
How to: fix a dropped knit stitch
05:16Beginner -
How to: work long tail thumb cast on
04:12Improver -
How to: work two-needle cast on
05:28Beginner -
The Mystery Blanket Challenge: Sewing Together
16:59Beginner -
The Mystery Blanket Challenge: The Big Reveal!
5:03Beginner -
The Mystery Blanket Challenge Square Twelve: Honeycomb Slip Stitch
7:21Beginner -
The Mystery Blanket Challenge Square Eleven: Stocking Stitch Stripes
3:28Beginner -
The Mystery Blanket Challenge Square Ten: Honeycomb Cable
10:02Beginner


Or learn quick techniques to help with these popular patterns
View All-
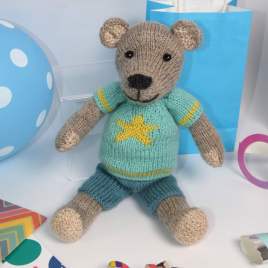
Benson Bear: Shorts and Star T-shirt Toy Knitting Pattern
Designer: Adrienne Fauser
-

Benson Bear Teddy Knitting Pattern
Designer: Adrienne Fauser
-
_268_268_64_c1.jpeg)
Spring Flowers Blanket Knitalong: Part Two
Designer: Nicola Valiji
-
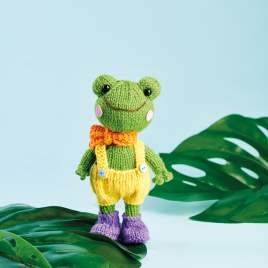
Dress Up Frog Toy Knitting Pattern
Designer: Sachiyo Ishii
-
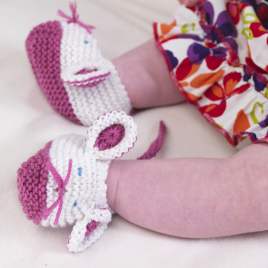
Mouse and Frog Animal Baby Shoes Knitting Pattern
Designer: Mary-Jane Thompson
-
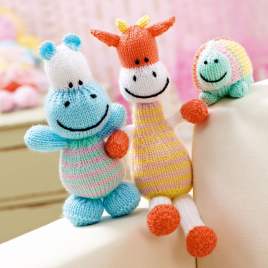
Amanda Berry Giraffe, Hippo and Turtle Toy Knitting Patterns
Designer: Amanda Berry
-
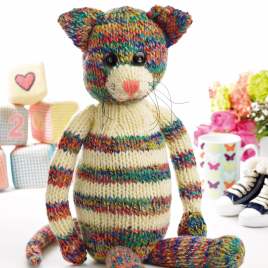
Colourful Cat Chunky Toy Knitting Pattern
Designer: Lucinda Ganderton
-
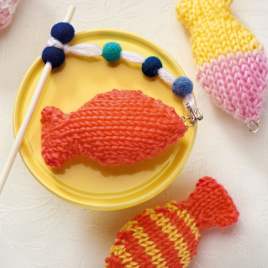
Fishing Game Knitting Pattern
Designer: Sarah Hazell
-
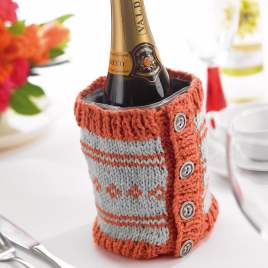
Easy Fair Isle Wine Bottle Cover Knitting Pattern
Designer: Amanda Walker
-
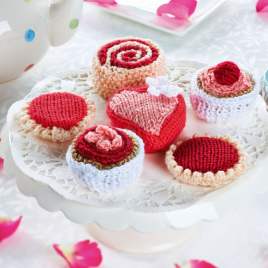
Simple Cakes Knitting Pattern
Designer: Susie Johns
-
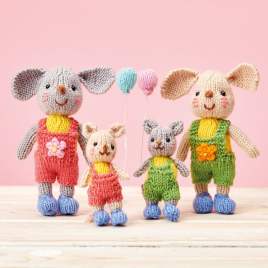
Party Mice And Rabbits Toy Knitting Pattern
Designer: Sachiyo Ishii
-
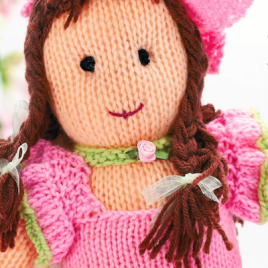
Flower Fairy Doll
Designer: Val Pierce
Beginner
Courses perfect for those who have never picked up the needles
-
How to: fix a dropped knit stitch
05:16Craft Box Subscription Access -
How to: work two-needle cast on
05:28Christmas -
The Mystery Blanket Challenge: Sewing Together
16:59Knitalongs -
The Mystery Blanket Challenge: The Big Reveal!
5:03Knitalongs -
The Mystery Blanket Challenge Square Twelve: Honeycomb Slip Stitch
7:21Knitalongs -
The Mystery Blanket Challenge Square Eleven: Stocking Stitch Stripes
3:28Knitalongs -
The Mystery Blanket Challenge Square Ten: Honeycomb Cable
10:02Knitalongs -
The Mystery Blanket Challenge Square Nine: Simple Lace Stitch
6:59Knitalongs -
The Mystery Blanket Challenge Square Eight: Horizontal Stocking Stitch
4:38Knitalongs -
The Mystery Blanket Challenge Square Seven: Pink Blossoms
6:59Knitalongs -
The Mystery Blanket Challenge Square Six: Diagonal Purls
4:29Knitalongs -
The Mystery Blanket Challenge Square Five: Bubble Stitch
4:59Knitalongs -
The Mystery Blanket Challenge Square Four: Duplicate Stitch
9:25Knitalongs -
The Mystery Blanket Challenge Square Three: Broken Rib Stitch
3:05Knitalongs -
The Mystery Blanket Challenge Square Two: Slipped Stitch
4:38Knitalongs -
The Mystery Blanket Challenge Square One: Double Moss Stitch
5:44Baby Blankets


Improvers
There’s always something new to learn!
-
How to: work long tail thumb cast on
04:12Improver -
Christmas Workshop with Jo Allport: Knit a Slip Stitch Hat
01:15:49Christmas -
How To Work a Tubular Cast On
10:02Improver -
Christmas Workshop with Jo Allport: Knit a Cable Bag
01:12:49Christmas -
How To Work a Drop Stitch (y2rn)
05:04Improver -
How To Knit a Mitred Square
05:23Improver -
How to: graft two cast off edges
06:39Improver -
How to: work over a wrap & turn
4:32Improver -
Sock Making Workshop Part 3
59:20Socks -
Sock Making Workshop Part 2
58:25Improver -
Sock Making Workshop Part 1
1hr 1minsSocks -
How to work: picot edge cast off
05:33Improver -
How to: Backward loop cast on
03:22Improver -
How to: work a slip knot cast on
4:58Improver -
How to: create ruching
5:47Improver -
How to: work Judy’s Magic cast on
7:28Improver


 Kntting Video")


Advanced
Take your skills up a notch or two and be the best knitter you can be!
-
How To Work Crossed Stitches
09:16Advanced -
How To Work Two-colour Brioche Stitch
16:40Advanced -
How To Work Brioche Stitch
07:28Advanced -
Six Steps to Sock Making Success
06:57Socks -
How to: work slip stitch knitting
09:39Advanced -
How to: work slip stitch beading
12:53Advanced -
How to: work invisible circular cast on
4:47Advanced -
How to: work magic loop knitting
8:44Advanced -
How to: work the three-needle cast off
06:48Advanced -
How to: work double knitting
06:50Advanced -
How to: work two-colour cast on for double knitting
06:10Advanced -
How to: work Fair Isle (one hand, one strand)
10:25Christmas -
How to: work Fair Isle with two hands, two strands
07:43Christmas -
How to: work Fair Isle with one hand, two strands
10:10Christmas -
How to: Introduction to Fair Isle
11:26Christmas -
How to: carry a float in colourwork
12:31Christmas


 Kntting Video")


