


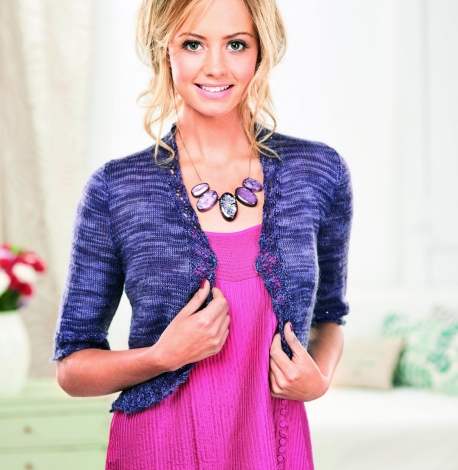
Finish your projects with a flourish! Pretty edgings can be worked in so many ways and there are ideas for knitters of all skill levels – here are just a few of our favourites.
A decorative trim or a well-finished edge can mean the difference between a standard project, and a professional-looking showstopper! Download the pattern for our lacy bolero, above, or try some of these ingenious
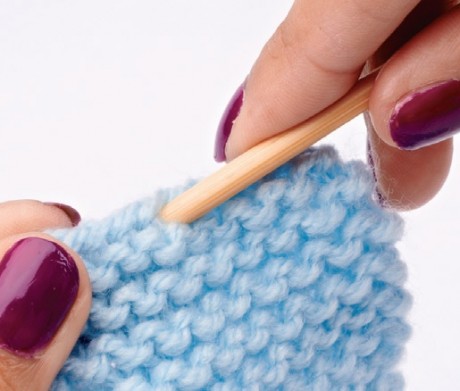
Picot cast off
Decorative cast-offs like the picot stitch are often used to give a feminine feel to your knits.
Step 1: cast off two sts kwise, turn your work and use the cable method to cast on two extra stitches.
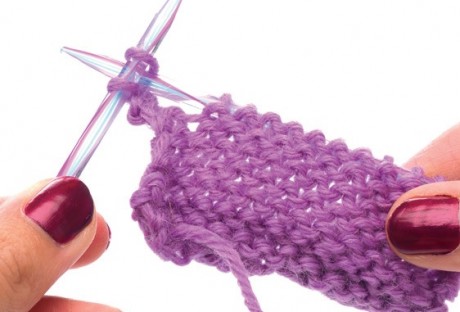
Step 2: turn the work again and with the yarn at the front, cast off two of the three sts on your RH needle by passing them over the nearest st and off the end of the needle.

Step 3: rep Steps 1 and 2 across row until all stitches are cast off.
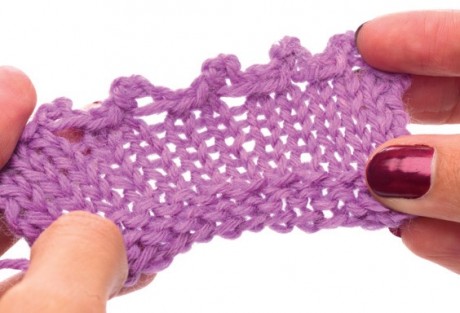
Mock picot
True picot edgings can be a little bit fiddly for beginners as there’s lots of slipping stitches back and forth between the two needles. This technique is a much easier way of creating a similar effect. We used a sample swatch with an even
number of stitches.
❑ Rows 1- 4: beg with a k row, work in st st
❑ Row 5: k1, (k2tog, yfwd) to last sts, k1
❑ Rows 6-10: beg with a p row, work in st st
❑ Cast off in pattern
Weave in ends, then fold the fabric in half at the eyelet row so WS are together. Sew this in place on the WS to secure

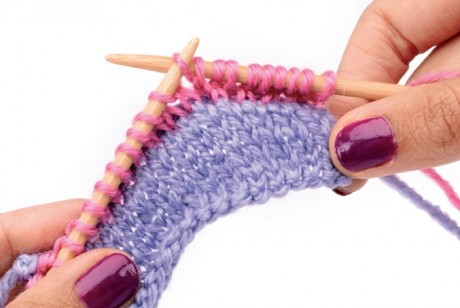
Crochet borders
For rectangular projects such as throws or wraps, you can end up with untidy edges. An easy way to disguise these is to work a border of double crochet over the top of your stitches. Once you have done a row of double crochet, you can fasten off, or develop this into a more complicated crochet edging – clusters and shells look great, why not give it a try?
Joining the yarn: insert your crochet hook through the middle of the stitch nearest to the edge of the work, place a slipknot on hook, pull loop through knitted fabric, yoh, pull yarn through loop on hook to secure.
Double crochet: make 2ch, work double crochet in each stitch and row-end stitch to end, working 3dc into each corner if necessary.

Easy ruffle edge
So effective yet surprisingly simple, once you know how you’ll be adding ruffles to all your makes. All you need to know is how to work the kfb increase (knitting into the front and back of the same stitch) so it’s the perfect edging for newbie knitters.
❑ With RS facing pick up and k sts evenly along the edge where you want to position your ruffle.
❑ Rows 2-4: beg with a p row, work in st st
❑ Row 5 (RS): kfb in each stitch to end. You should now have twice the number of stitches that were picked up
❑ Row 6: p to end
❑ Rep Rows 5-6 once more. The stitch count will have doubled again.
❑ Cast off kwise
Separate trims
Another way of creating edgings is to work them separately. Usually these are knitted horizontally, which gives you the freedom to try out a variety of interesting stitch effects.
Cables
Working cables along your edging creates a border with an interesting twist. Larger cables can give a scalloped effect
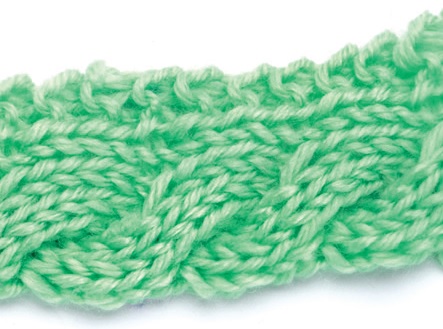
Cast on ten sts
❑ Row 1: k10
❑ Row 2: k2, p8
❑ Rows 3-4: rep
Rows 1-2
❑ Row 5: k1, C6F, k3
❑ Row 6: k2, p8
Rows 1-6 set pattern
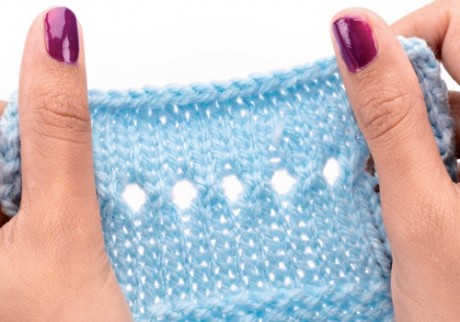
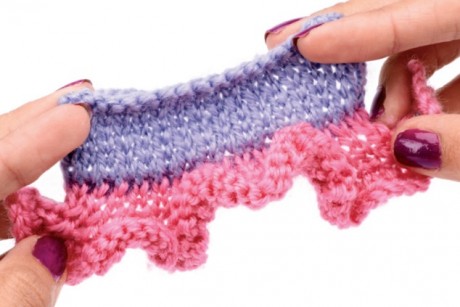
Lacy zig-zags
This stitch pattern creates a lacy zigzag edging and looks great along the bottom and opening edges of a cardi!
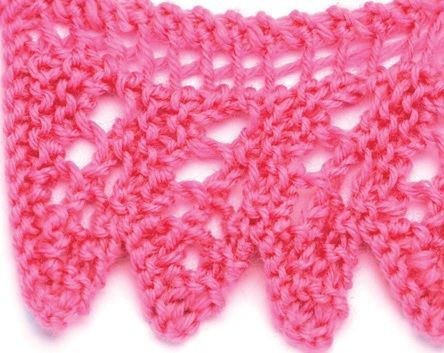
Cast on ten sts
❑ Row 1 (RS): sl 1, k2, yfwd, k2tog, (y2rn, k2tog) twice, k1
❑ Row 2: k3, (p1, k2) twice, yfwd, k2tog, k1
❑ Row 3: sl 1, k2, yfwd, k2tog, k2, (y2rn, k2tog) twice, k1
❑ Row 4: k3, p1, k2, p1, k4, yfwd, k2tog, k1
❑ Row 5: sl 1, k2, yfwd, k2tog, k4, (y2rn, k2tog) twice, k1
❑ Row 6: k3, p1, k2, p1, k6, yfwd, k2tog, k1
❑ Row 7: sl 1, k2, yfwd, k2tog, k11
❑ Row 8: cast off six sts [one st rem on RH needle], k6, yfwd, k2tog, k1
These eight rows set pattern
Check the length against your edges as you knit, and once your trims are complete, carefully slip stitch them to your finished piece.
So there you have it! Six edges that will give your next project a beautiful finish. Need some more inspiration? Explore our range of over 160 free knitting and crochet patterns!
_333_180_c1.png)


 Baby
Baby
 Toys
Toys
 Garments
 Crochet
 Homewares
 Dolls
Dolls

Share