


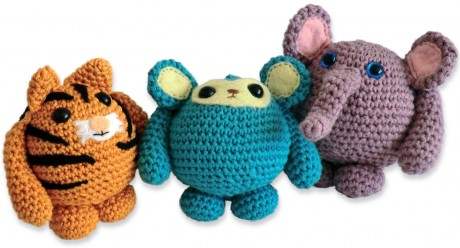
Amigurumi (literally meaning ‘knitted doll’ in Japanese) is an adorable craze in the world of crochet. The dolls have their own distinct characteristics such as large heads and big eyes and are commonly made using double crochet. We’ve put together our basic amigurumi how-to so that you can give this cute craft a try at home.
Magic Ring
Most amigurumi patterns start with a magic ring. You could just join chains into a ring, but you would end up with a hole. A magic ring can be closed tightly and ensured you don’t get a hole at the beginning of your project.
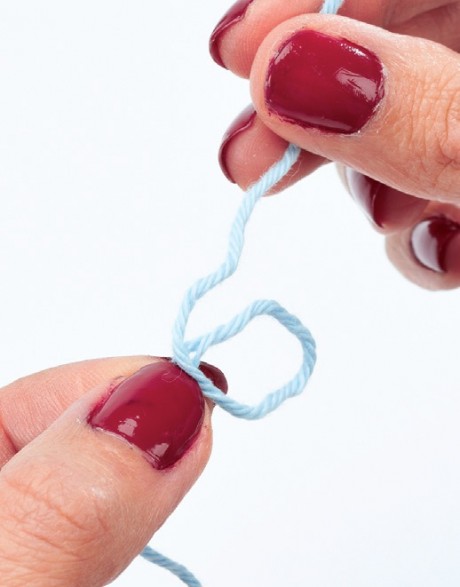
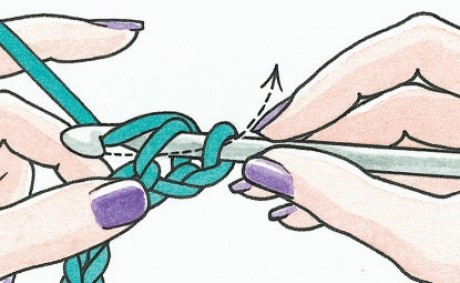
1. Make a loop of yarn with the tail hanging downwards and the working yarn overlapping in front of the tail
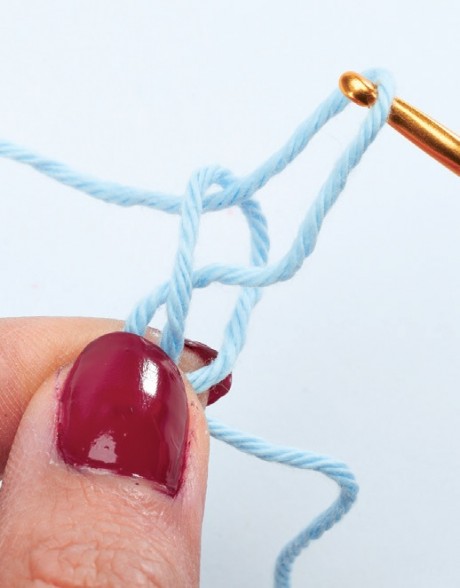
2. Holding the loops in place, insert the hook through the centre of the loops and pull through the loop
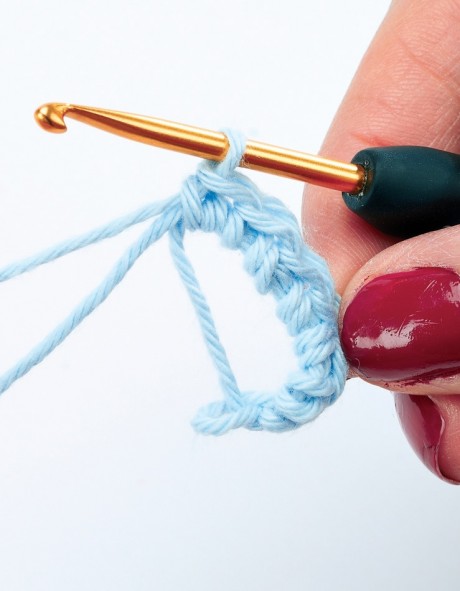
3. Make 1ch, then work dcs into loop as instructed on Foundation ring, making sure you work over the tail for the first couple of sts
4. When the Foundation ring is complete, pull the tail to close the hole in the centre of the loop

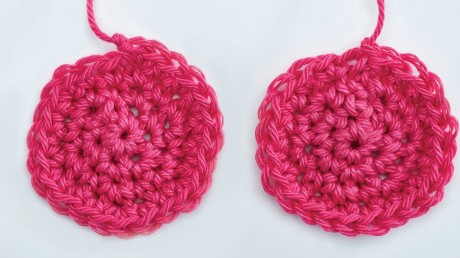
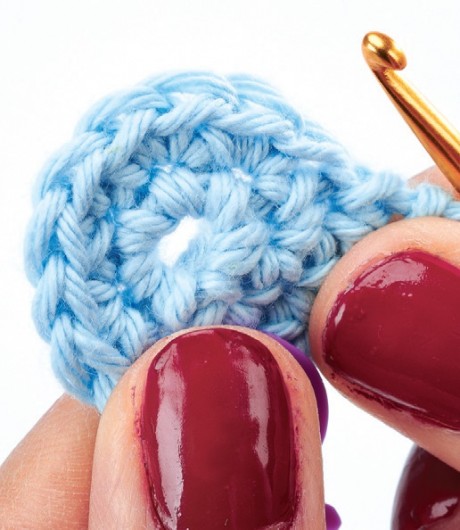
Spiral vs Working In The Round
When working in the round, you usually have a turning chain and close the round with a slip stitch. However, most amigurumi designs are worked in a spiral. It is a continuous circular motion, so there is no need to work a turning chain or a closing slip stitch.
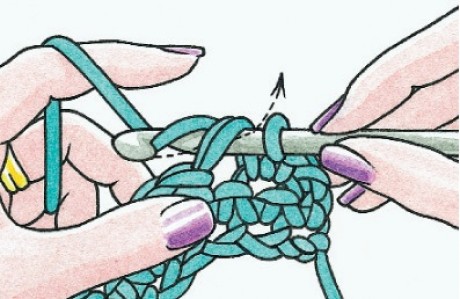
Decreasing
To decrease in crochet you need to work two stitches together. To do this, work to the last step of your stitch, now work up to the same step in the next stitch, wrap the yarn around the hook and pull through all the loops on the hook. In amigurumi, you mainly use dc2tog. Here’s how to do it.
1. Insert hook into next st, yoh, pull through st, insert hook into next st
2. Yoh, pull through st, yoh, pull through all three loops

One exception to this rule is a htr2tog, where you will have three loops on the hook before starting to work the second stitch
1. Yoh, insert hook into next st, yoh, pull through st (end of first st), yoh

2. Insert hook into next st, yoh, pull through st, yoh, then pull through all five loops on the hook
To Finish: It is easier to stuff your project just before you work the final round as the hill is quite tight by this point. When stuffed, work the last round and pull tightly to fasten off.

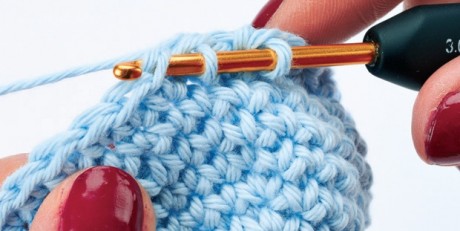
Double Crochet
1. Insert the tip of the crochet hook under ht two loops of the next stitch and catch the ball end of yarn. Draw the arn through the loops so that there are now two stitches on the hook
2. Wrap the yarn around the hook and draw through bottom loops on the hook, dropping them off and leaving a new stitch
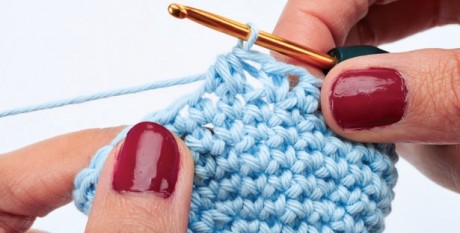
Front and Back Loops
Unless otherwise stated you will be working through both loops that form the ‘v’ at the top of the stitch from the previous round. However, you can alter the shape of your crochet by working into just one of these loops.
Increasing
Once you have worked your magic ring and foundation round, you will need to start to increase on each round. To do this, simply work two double crochets in the same stitch when instructed.

Tips
Yarn: cotton works really well as it holds its shape and creates a firm fabric
Crochet hook: smaller than the recommended size as you want your stitches to be nice and tight
Stitch markers: to mark the beginning of each round
Have you tried making an amigurumi creation? Please share it with us on our Facebook and Twitter!
_333_180_c1.png)


 Baby
Baby
 Toys
Toys
 Garments
 Crochet
 Homewares
 Dolls
Dolls

Share